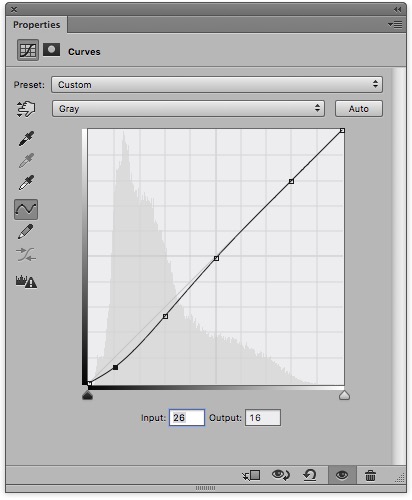
To see a simulation of the curve you are baking into a new quad, simply create a PS Curve layer using the same points as in the Curve Adjustment spreadsheet. You can even save it as a preset to flip on and off. Just be sure you don’t make you negative with it on if using the adjusted quad!
[center]
For soft-proofing, first you need to make an ICC with QTR-Create-ICC-RGB. It is important to use the RGB version of the app if you want to simulate the color of the process. To do this, print a target that was made with your adjusted quad, read it, put that data into the Smoother and create a new CGATS text file, drag the text file to QTR-Create-ICC-RGB, put the icc that is created into your ColorSync folder (or whatever the equivalent of that is in Windows).
To set up soft-proofing in Photoshop: View > Proof Setup > Custom … Device to simulate > [your icc] … Preserve Numbers checked. (The simulate paper and black ink are like an unnaturally heavy layer of fog in my opinion.)
To turn it on and off: View > Proof Colors, or Command-Y.
I am presuming this works the same on Windows as it does on Mac. I could be wrong, but have no way to test it myself.
Using one soft-proof profile to compare against no proof is not going to show you what you are hoping to see. It will look paler and flatter than the non-soft-proofed view. You actually need 2 or more soft-proof iccs to compare to each other – one for the linearized quad and another for each adjusted version that you make and want to compare.
I’m not sure I have this 100% right. I’ve done it before successfully, but I don’t routinely use soft-proofing myself.
Keith