After making 60-80 negatives on a 1430 out of the blue cane the pinwheel marks. So fine and infrequent I did not spot them until the print I’d made (a fine print at that) had dried down. Hating the idea of taking needle nose pliers to the printer, while completely sympathetic to the idea of fixing something with a bigger hammer, I started a closer examination of the assembly holding the pinwheels. It seemed as if Epson had made a special effort to make sure the user could not defeat this transparency destroying apparatus.
In an effort to get a closer look at some screw I though might release the entire assembly (after failing several other attempts at a fix) I opened the CD print panel and my eyes popped out a bit as I watched the the print head and the pinwheels raise up. Like a dog trying to escape the backyard I opened and closed the CD panel to see if I could keep the pinwheels up while getting the print head to go down.
The Foxfire (Appalachian - Scottish ancestry engineering) fix which seems to work is pictured below.
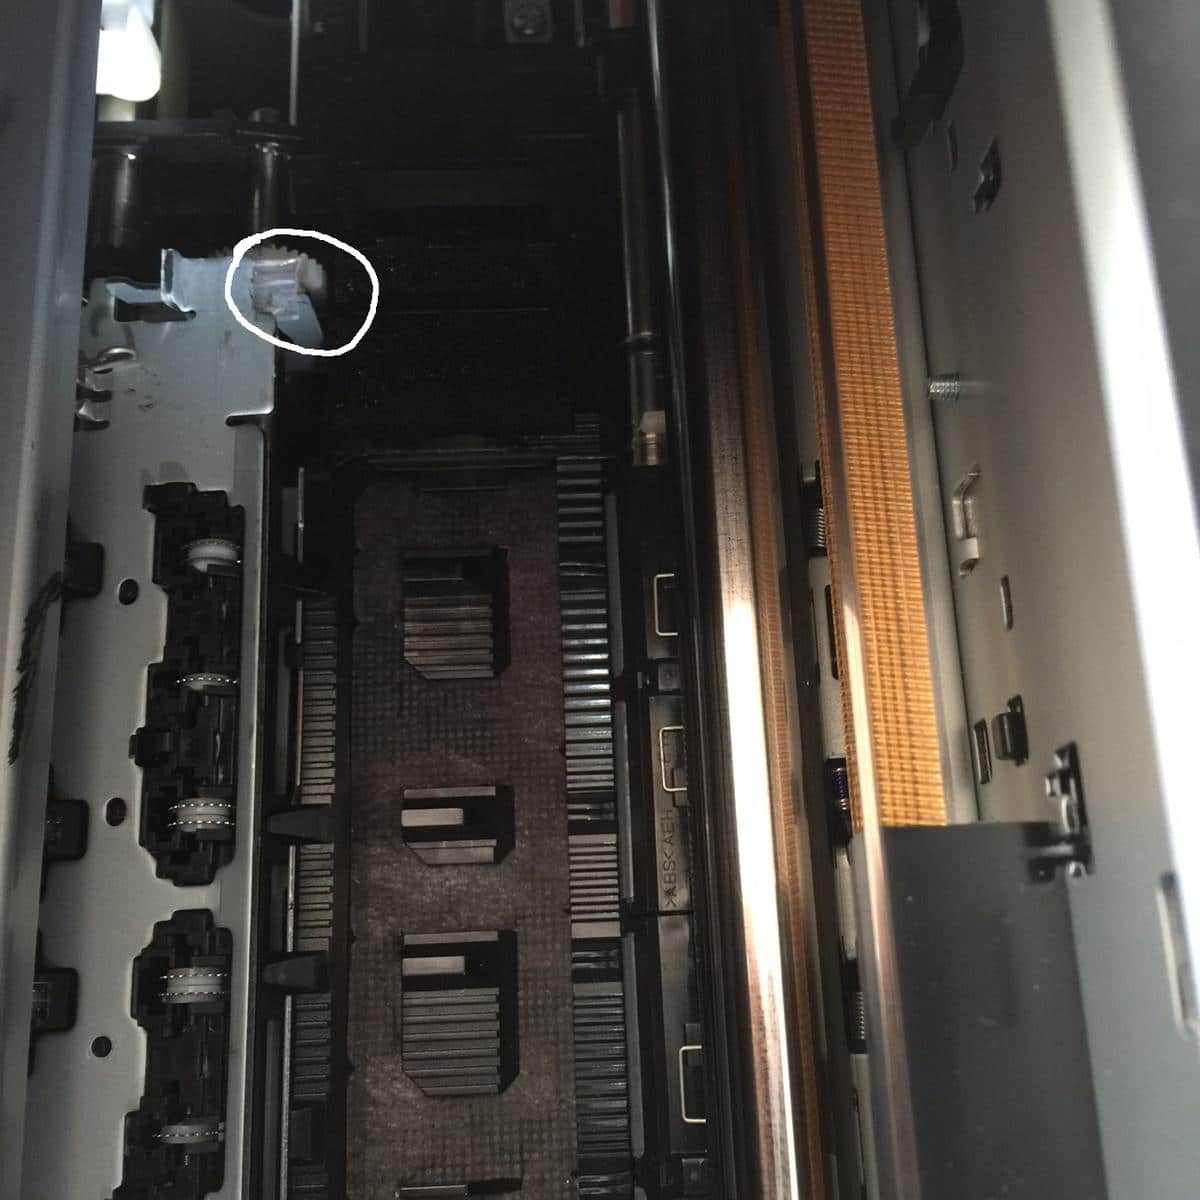
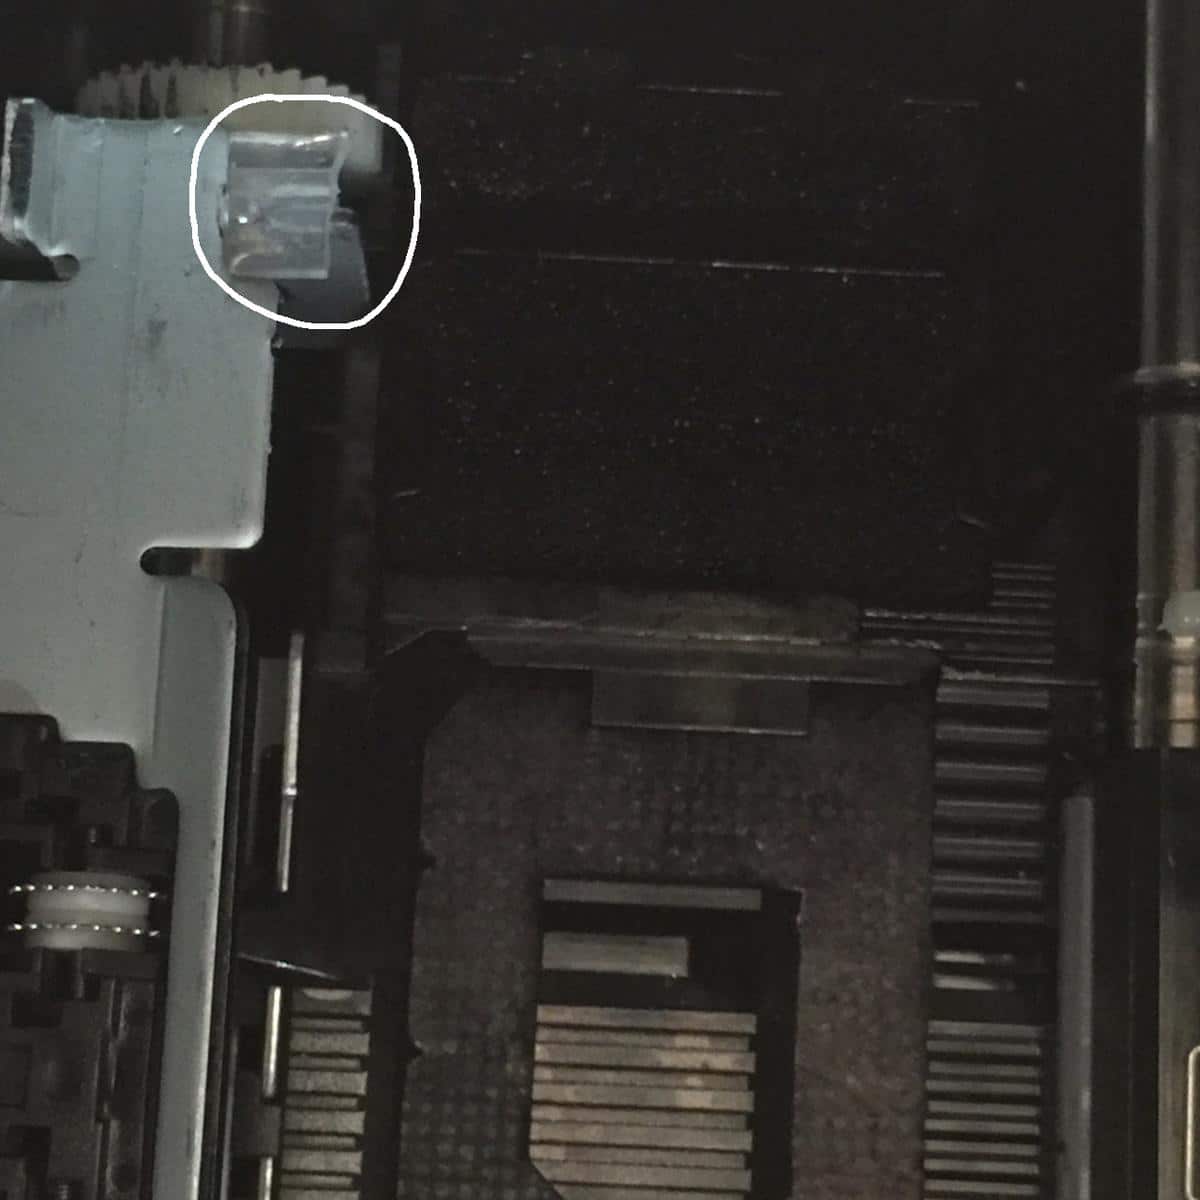
I found a piece of plastic channel, actually the edge of a plastic box top in my recycling, and, with the CD panel open, placed it over the stamped metal tab that holds the pinwheel assembly in place for “normal” printing. These tabs are found at the left side of the print cavity. Using about a 1/2" length piece of plastic channel fits and stays out of the way of the printhead as it travels the full length of the carriage.
Please add improvements here so we can all benefit.
But don’t you need the pizza wheels on the far right and left to advance the media out of the printer? I was told to leave those in, the rest I removed. Also a tip, the black plastic holders of the pizza wheels snap out of the metal bracket so the wheels can be easily removed, but CAUTION, getting those black plastic holders back in is a real bitch. There is a tab that has to hook into a hole that is almost impossible to see, and unless you have really skinny fingers, not easy to do. I ended up using a spatula and some luck, took over an hour of frustration, and two cut fingers.
Keith, the print results are already amazing. The more people doing it the faster our collective knowledge base grows the process from launch to maturity. I am using the 1430 because it is so instructive and I love it as “the little printer that can.” Under $300, small investment in refillable cart, or CISS, small investment in ink that will make ridiculous numbers of negatives and prints. All of which makes PiezoDN intro friendly to a lot of photographers at all levels. Your above description of the role of these nemesis-to-transparency-printers pinwheels is dead on and useful to keep in mind.
With all of that said, my kingdom for PiezoDN fully on X800 series printers!! I like large ink carts, no pinwheels, roll material, more uses for the 7 X800 printers in my studio, cool summer breezes and…
Walker, didn’t expect the update within days. Thank you!! Do I get to keep my kingdom or is Jon hoping for a place with spectacular views in a great photography community with the absolutely best food!?
I am printing 13x19 Pictorico for 8x12 images using the modification above to lift the pinwheels out of the way. The only drawback I had was created by the printer trying to print to close to the start and end of the Pictoric. I typically, but not always like to have the hand application show beyond the image edge. If I don’t want it to show I either mat to the image or use rubylith along the edges while exposing. To stop QTR from printing all that black around my images in PS I have been making canvas size 13x19 and making Canvas Extension Color black. As the P-DN manual will tell you it makes a perfect border which when the PiezoDN .quad is applied inverts this new black border black to white (clear - no ink). The problem the printer has was that this method left a thin band of black at the beginning and the end that still printed black. This is difficult for the 1430 as it has no suction function to hold down these large sheets of Pictorico. Once I made the canvas size a bit larger, 13x19.25, the problem is eliminated. So far the pinwheel modification seems a perfect solution. Film is fully ejected, no pin point holes in the printout.
As a new PiezoDN user (in fact still just reading everything and trying to work it out) thanks for posting this. Keith did talk me through the other method and while I was quite happy to do this if required your way is much easier.
As for what the star wheels do, they just provide a bit of downward pressure so the driven rollers below the film can do their job of ejecting the film. It seem just film weight works fine without them by the account above.
Shane, It seems to have nothing to do with eject film. They are unneeded for our purposes. I don’t think you will miss them. I am convinced they are only there for paper.
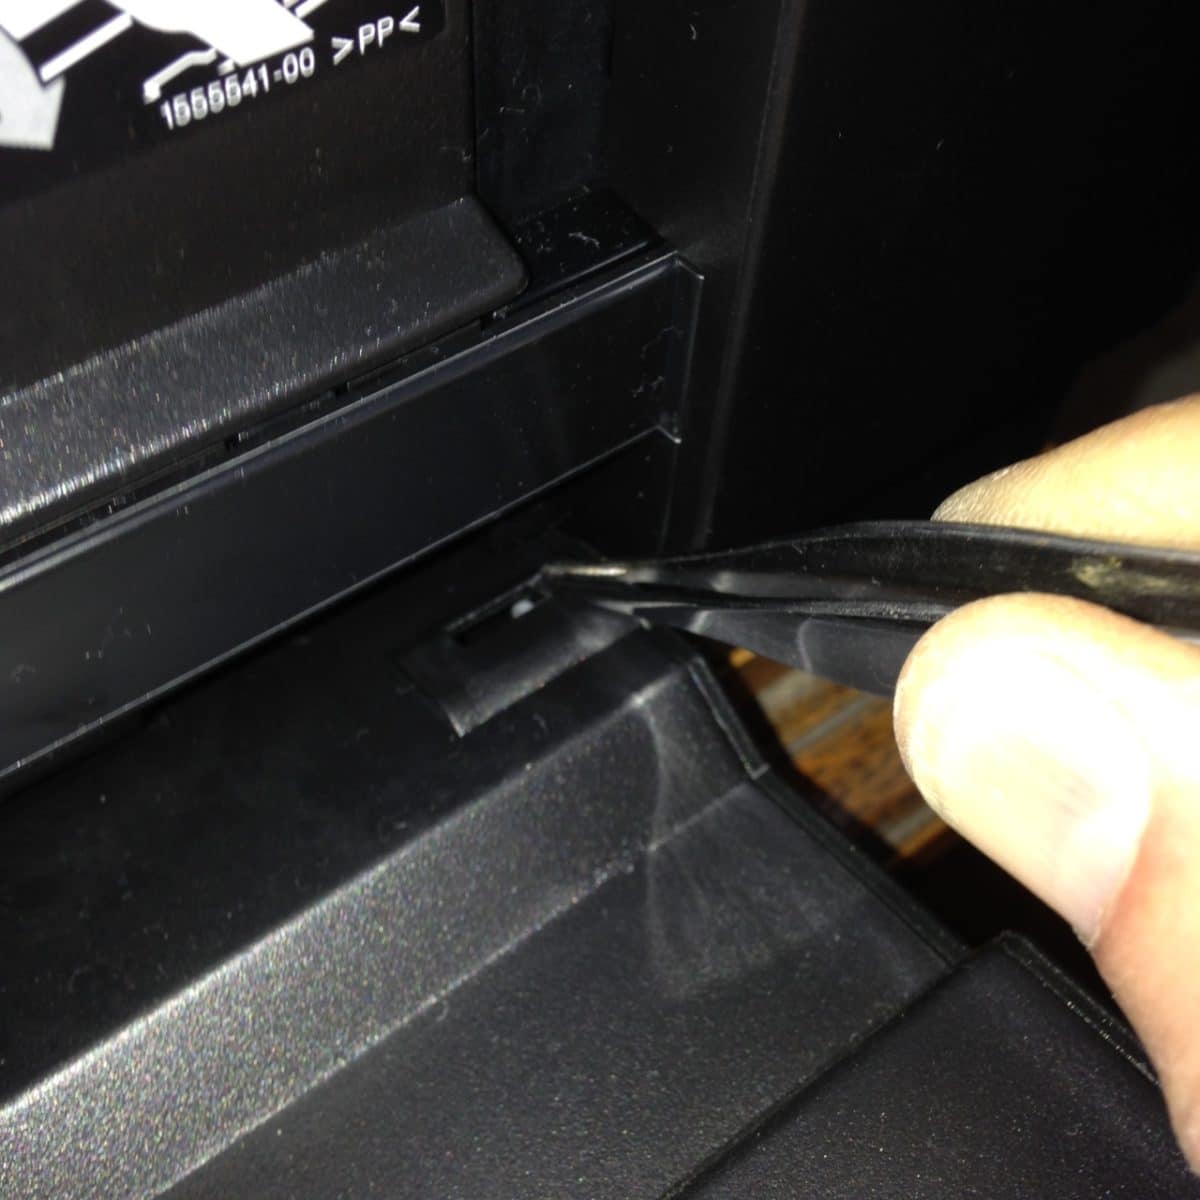
Just make thing easier if anybody decides to refit the pinwheels or some of them, you can take the front flap off by using a small flat screwdriver. Just slip the blade into the slot on the right hand side of the flap and draw the white spring loaded pivot back. The flap come off and much easier to see and get to the plastic pinwheel holders.
Im also going to say I think it a good idea to fit the far right and far left star wheels. When they were not in I got several marks across the image like the OHP was lifting and I could hear the head catching on the edge as it meet the OHP after going across to the extreme left side which the print head does every now and then to set is position
Can you explain a bit what your modification shall do? I found the part in my printer in your photos, but somehow I can’t make up in what position the metal with star wheels shall be, when printer’s CD flap is closed? Is it enough, that piece with star wheels doesn’t lock under the small tab you put plastic across? Because to me, it looks like it’s locked under the small tab in your pictures.
Marko, you will see when you open the CD flap the star wheel slide back then up and away from the piece below. Thats were the plastic goes so when you close the CD flap the star wheel stay in the up position. Make sure the plastic does not protude and allow the head to hit it…
Personally I rather take out the star wheels then have something that could fall out and get stuck in printer.
After thinking about the problem for some time, I think I understand that. But from posted pictures, it looks like sheet that holds spiked wheels is still locked under that metal tab. And that happens only when wheels are in “normal printing” position. That’s why I asked. And another reason, because I tried modification and end up with sheet of film with nice horizontal lines, that made negative unusable. So my question should probably be: how far from vertical metal tab shall sheet holding spiked wheels be, for modification to work?
it just has to lift it clear of the film, 1 mm would be enough. I still will say I think removing all the star wheels except the one on each edge is best, if I don’t have the star wheels i can hear the head clip the film and then I get lines across the film. This might not happen at the start but once the film get out far enough the weight of the film flops down and that makes a wave which lifts the film near the print head slightly, the star wheel prevent this. I have star wheel fitted for 11 inch wide film but when i used 8.5 there is no star wheel holding the left side down and I have the line issue because of this “wave” but when I put a block of wooden on the outfeed tray to take the weight and stop the film flopping the issue went away. So try putting something on the outfield to take the weight and let the film come out horizontally.
I think our understanding about what modifications we can make without compromising essential functions is still evolving. One thing I know is that the star-wheels themselves do not transport the media. Their function is entirely passive in that contact with the film or paper makes them rotate, rather than vice versa. I think that their role is to keep the film or paper tracking straight especially at the end - the last inch or so - of the sheet.
I started with PiezoDN on a 1430 and modified it as instructed by Walker. That’s what I coached you through not long ago. This week I set up a 3880 with K7 Carbon inks and learned how to disable the star-wheels without making any permanent modification to the printer. It is working great so far. After a few days spent on the calibration/profiling process, I printed 2 versions (different profiles) of a 7x17 inch image on 13x19 inch film yesterday which I’m making palladium prints of right now. No problems with bypassing the star-wheels as long as you leave a sufficient trailing margin - in this case 1.5 inches. If this works on the 3880, and if there is a way to do it on the 1430, which Don seems to have discovered, I think it would be a better solution than permanently removing them.
Did getting that tab that needed to be hooked in place better solve your scratch problem?
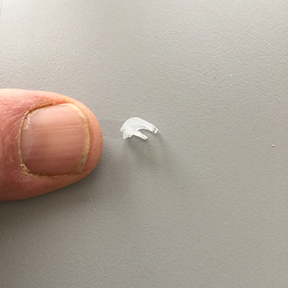
In response to a picture of the plastic piece I used to lift the pin wheels (pizza) here it is. I admit that the day I tried this I simply went through recycling looking for anything that might work. This came off the edge of the lid an empty box of star screws.