I found some info/youtube videos on this subject but not specifically for the Epson 1430, and all I get from the info is to clean the rollers, but cleaning them doesn’t seem to resolve the marks. I’m getting them pretty consistently on all the rollers when printing a sheet of 8.5 x 11 Pictorico.
Any other resources you know of on how to eliminate the marks?
You have two options here, both of which have been discussed here somewhere. I’ll post links to it/them if I can find them.
Remove the star-wheels permanently. I did this on my first 1430. It works great but is a permanent modification.
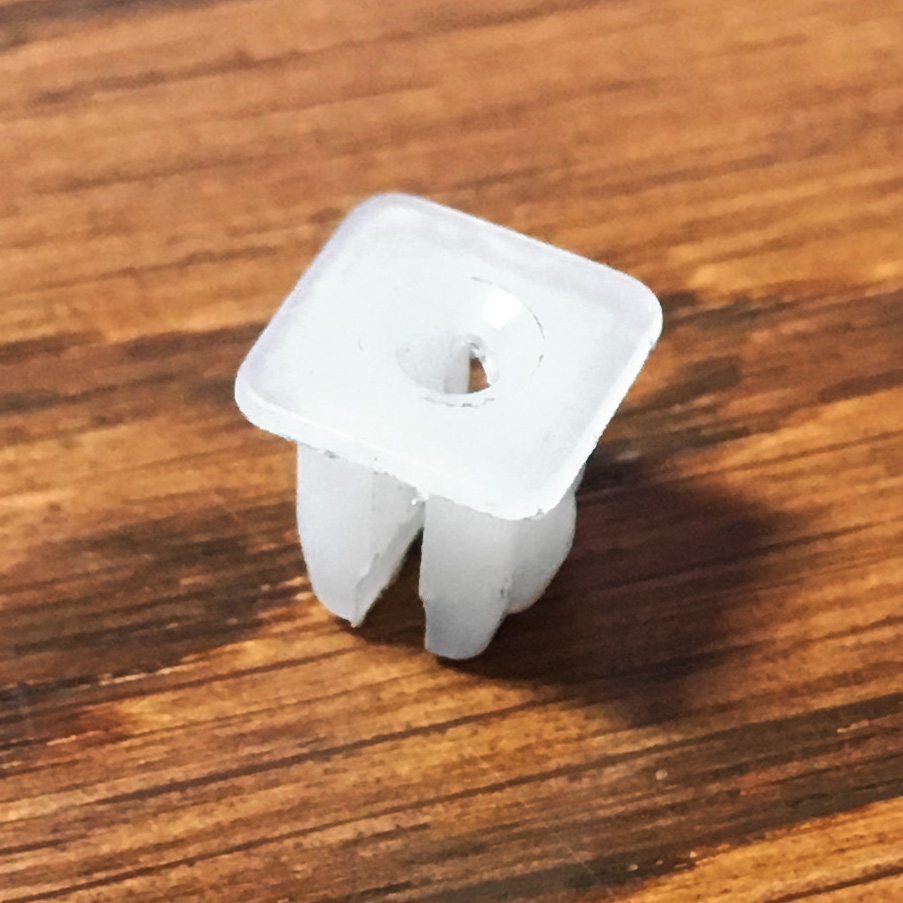
Temporarily lift them by opening the CD tray and inserting a plastic piece to hold the star-wheel frame in the raised position. I use a small automotive panel nut for this. [attachment file=29638]
These pictures are from above looking at the left end of the carriage path.
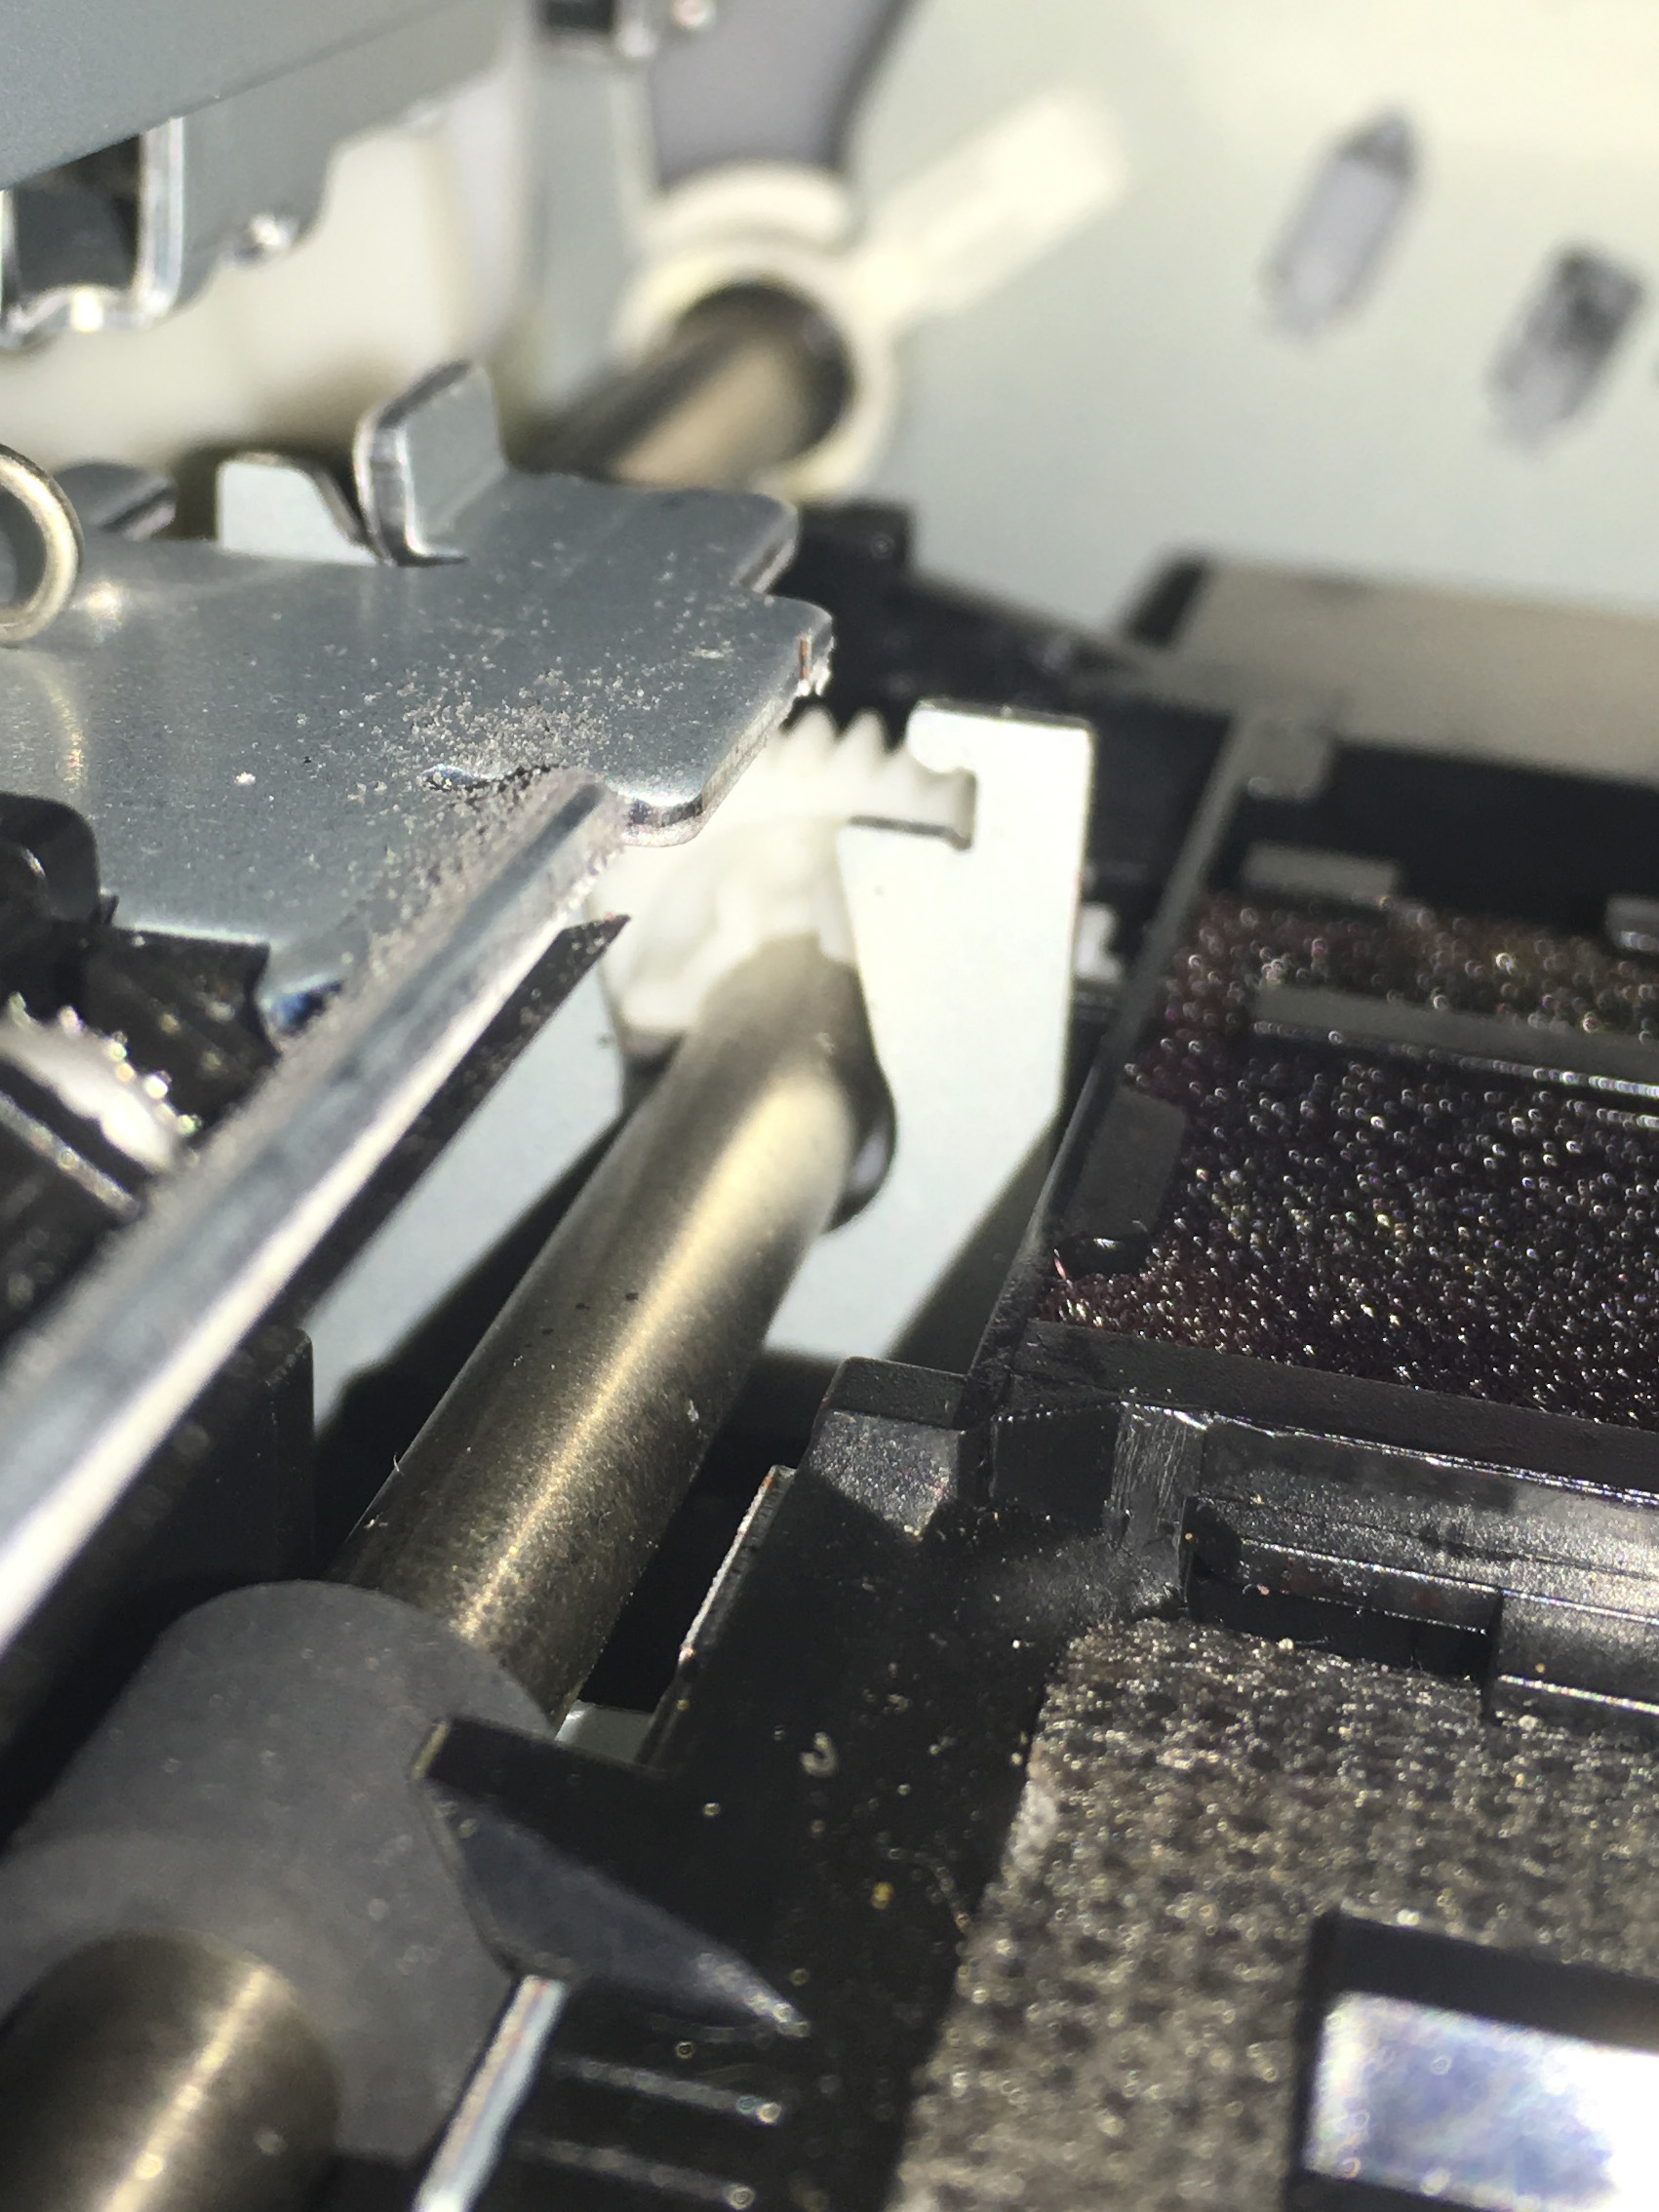
[attachment file=29639]
The vertical tab with the notch is what the nut will go on. Normally when the CD tray is closed the raised frame to the left fits into the notch. We want to keep it raised.
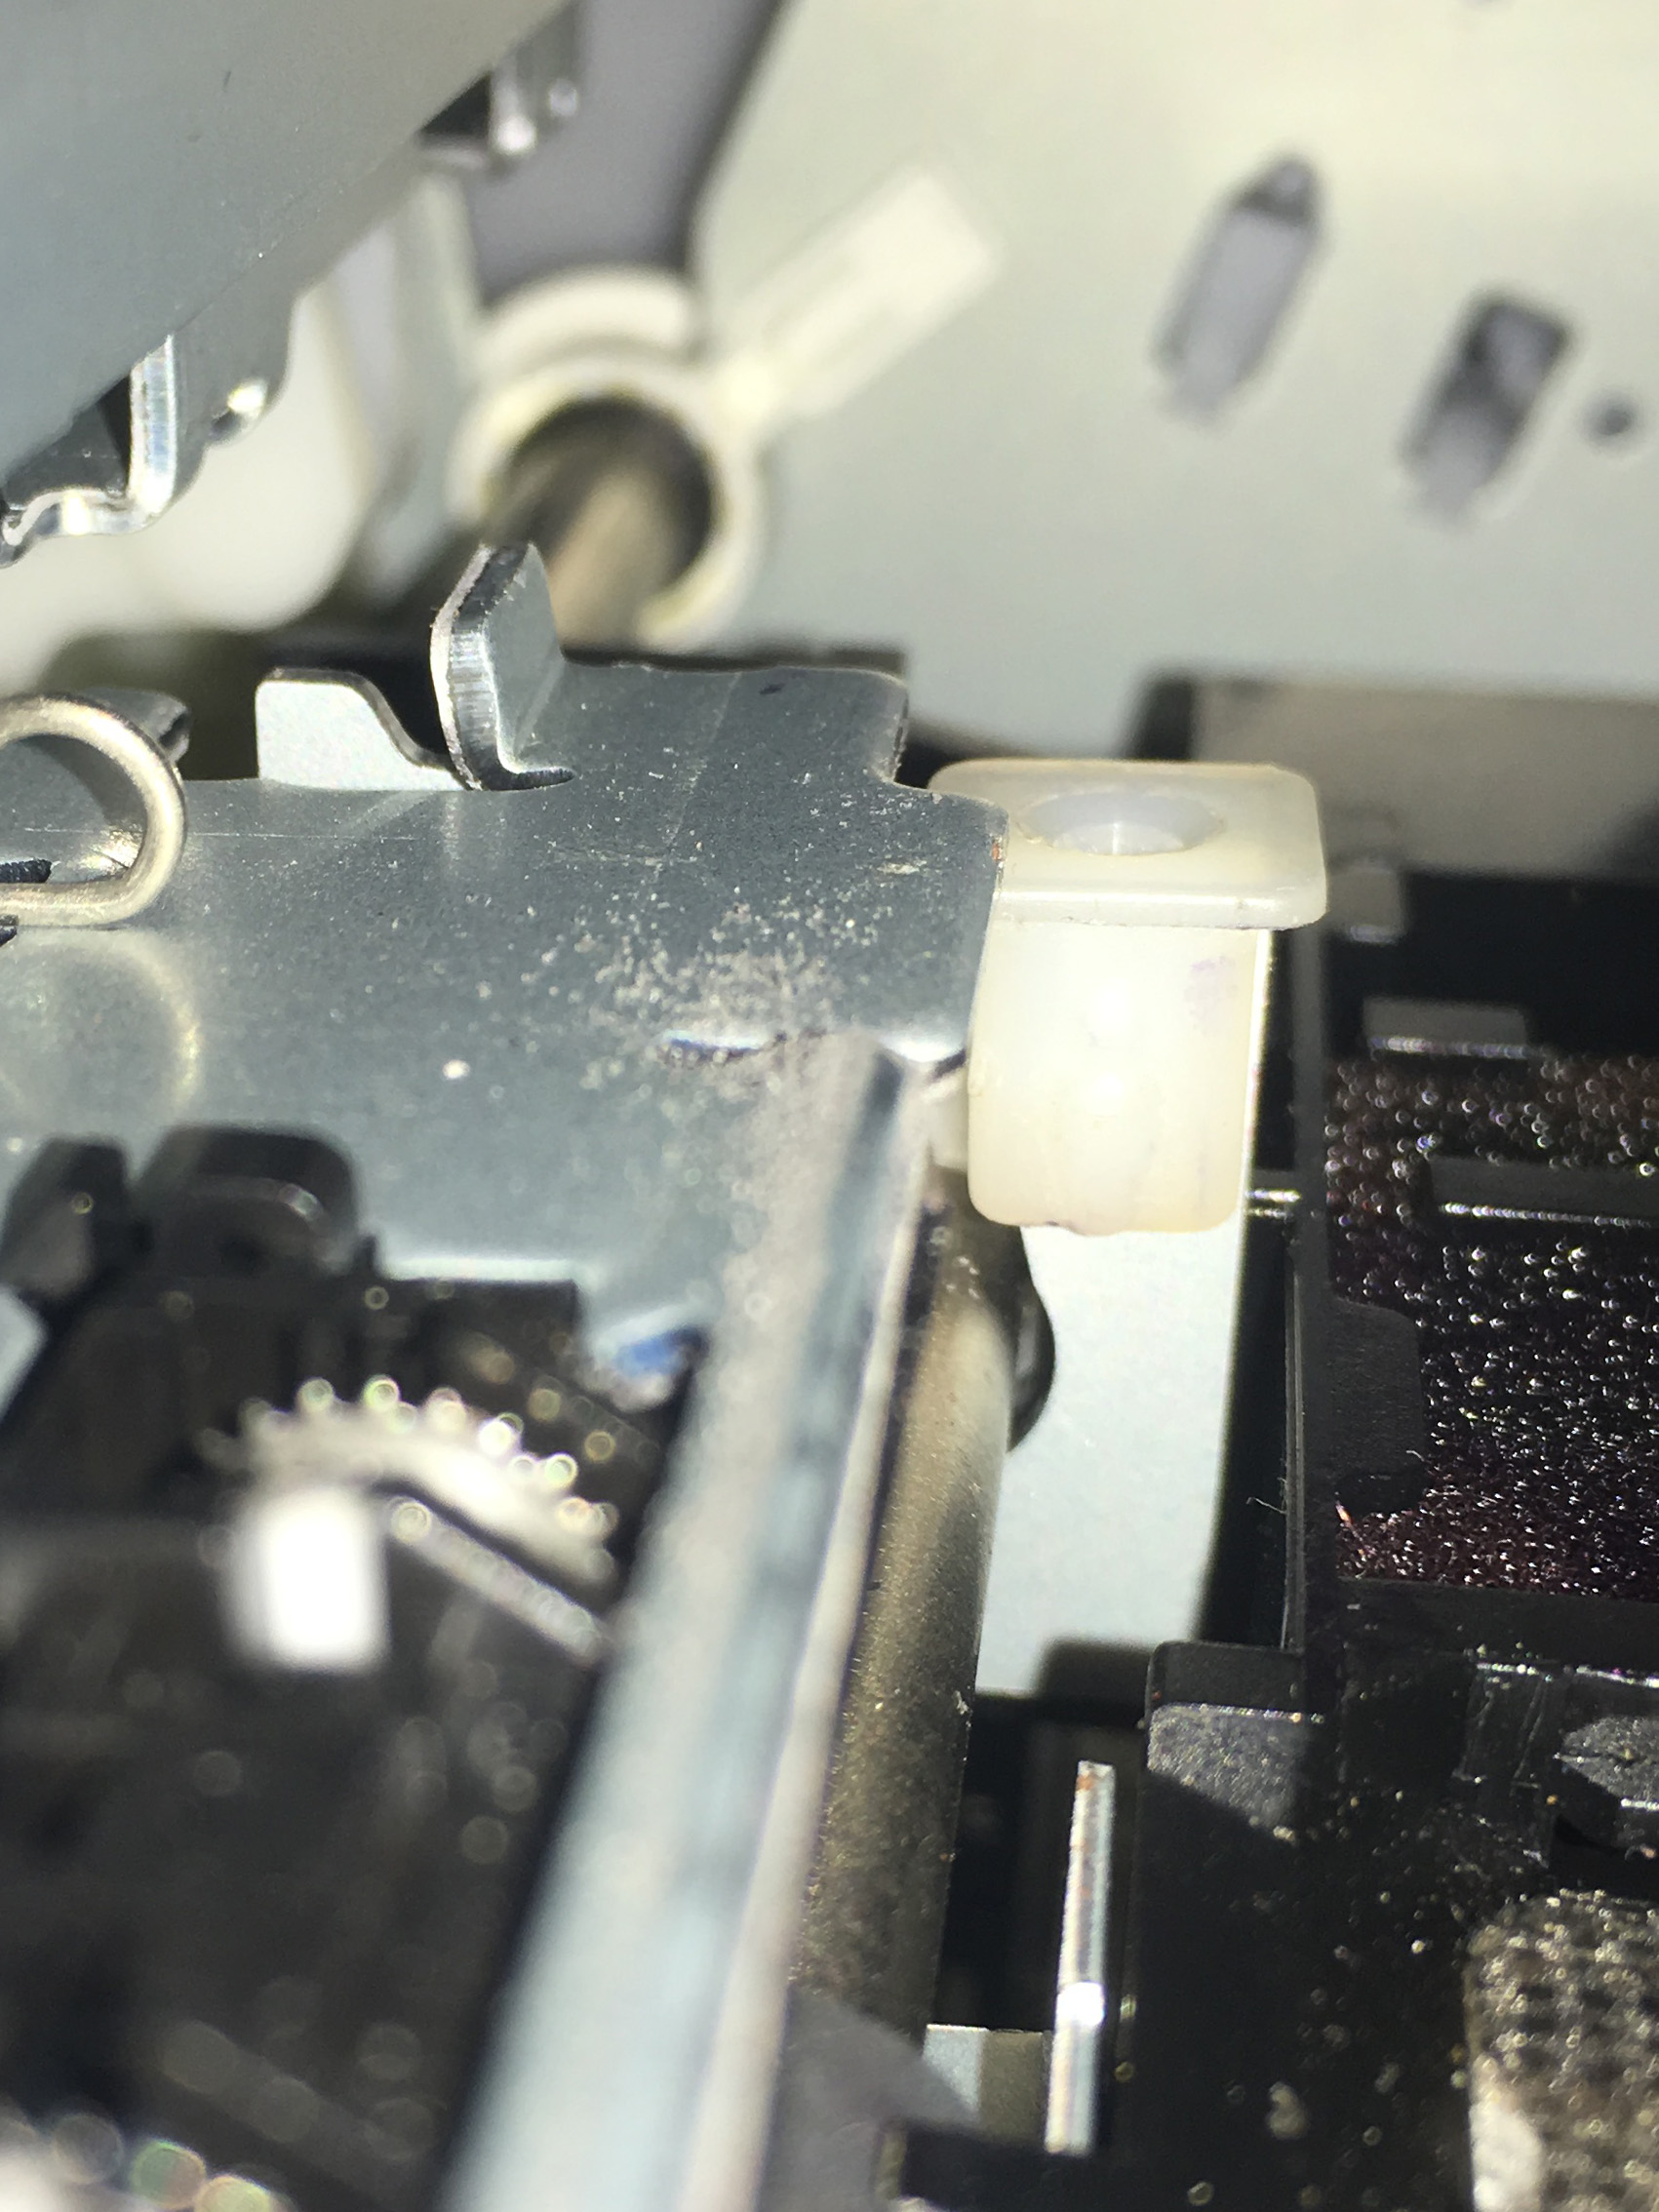
[attachment file=29640]
Nut in place.
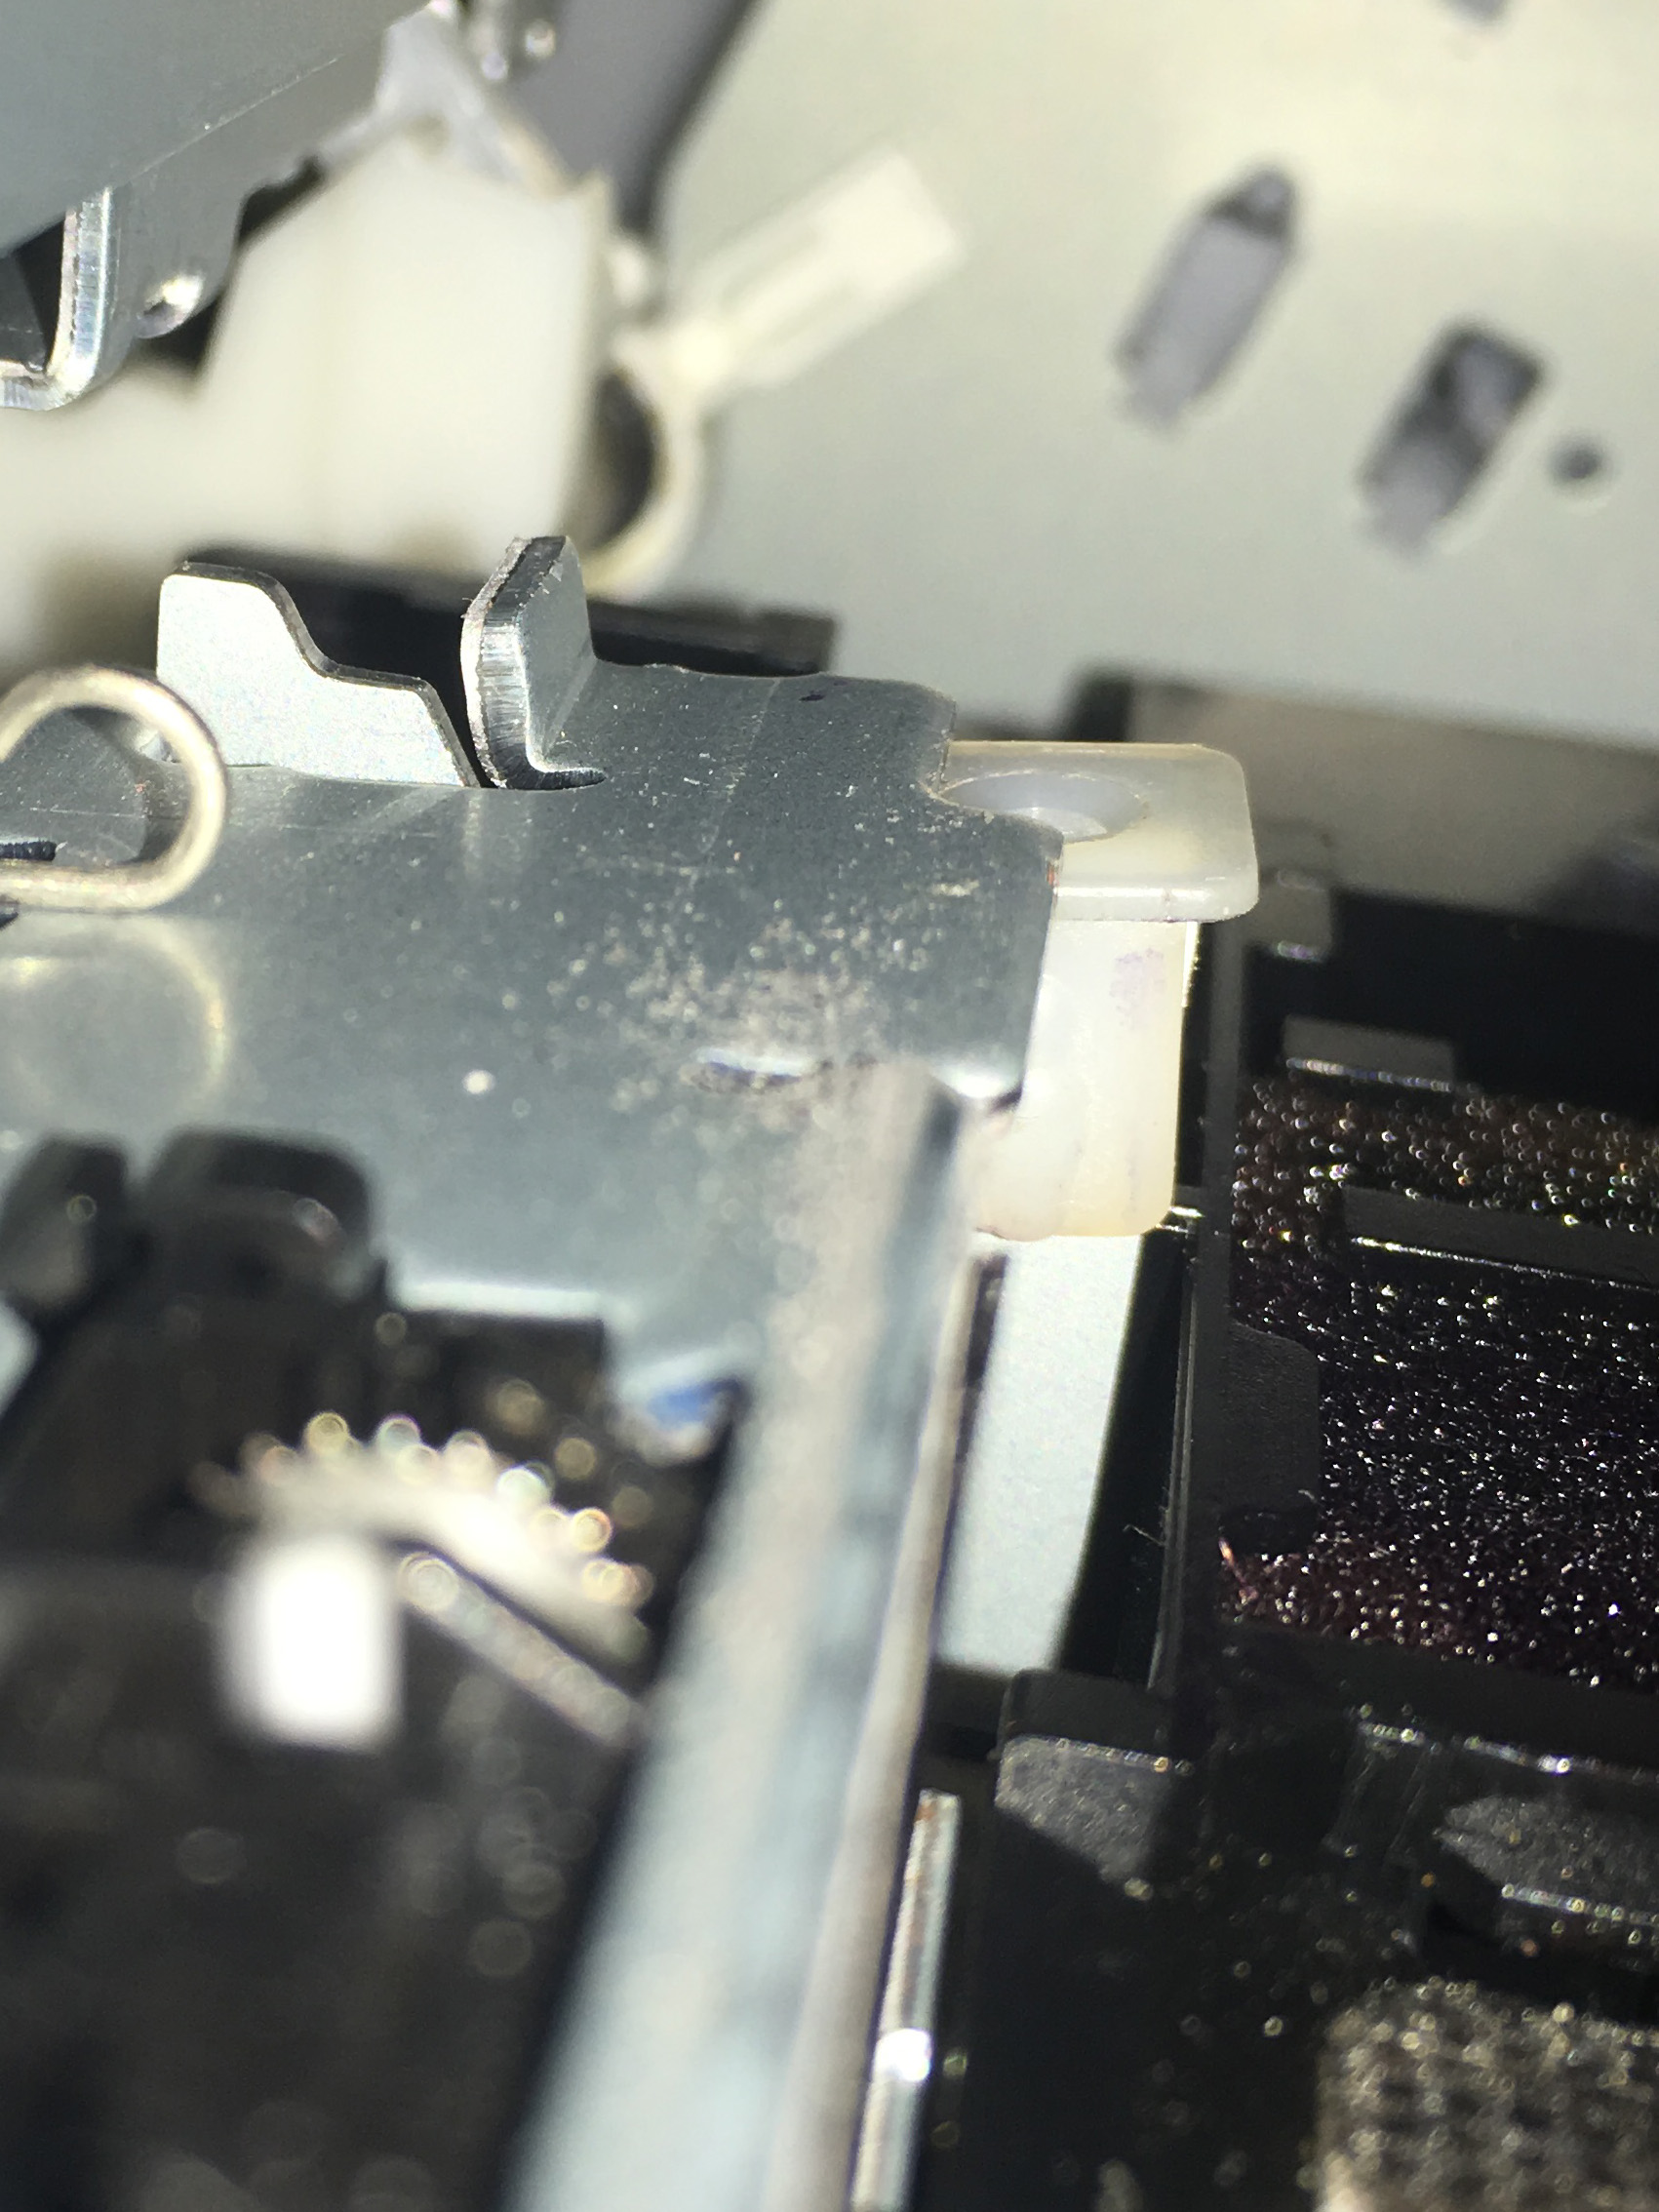
[attachment file=29641]
CD tray closed. Nut doing its job.
Be careful when removing the nut not to drop it! Been there, done that. It falls to the bottom of the printer where it will do no harm but it’s impossible to retrieve.
You will also need to leave a full inch of clear unprinted top margin and 1.5-2 inches of bottom margin, because that’s where the star-wheels are necessary for proper paper transport.
Kieth, I think I got it. Do you normally just pop all of them out by removing the black snap-in sections that hold the wheels? When I feel below between the black sections of wheels, it appears they are not connected and are snapped in as individual segments, the 1430 having 6 segments with a small single one at the far right.
Does the Pictorico feed through properly with them all removed?
What I remember is that I left the far right wheel in place but removed all the others. They do snap out in sections. I removed one section at a time, pulled the wheels off, then replaced the plastic carrier. Maybe you can just remove the carriers and leave them off. Might be worth a try. That way they could be replaced later if necessary.
Method 2 above lifts the entire star-wheel frame, and it seems to work fine, although I’ve only run mine like that a couple of times.
I got lucky with my 2nd 1430 - it doesn’t leave any star-wheel marks, though I do sometimes get scratches on the back of the film.
FYI, on this printer I suggest using 11x17 or larger film with the 1430 and always set a custom paper size that is 2 inches shorter than the length of your paper. This keeps the last bit of paper from getting over-inked and keeps everything clean.
I always print small, the very largest image being 5 x 7.5, with the majority a lot smaller. Unfortunately, a 11 x 17 sheet of Pictorico would result in quite a bit of waste. Plus, I aways create a black canvas in PS before printing, so I end up with clear Pictorico around my small image.
If the marks you are getting are from the “pizza” wheels you are not alone. We have an Epson 1430 set up at our school. I took the wheels out. It really is easy…at least they just popped right out for us. The problem we started to run into next was that the sheets started sliding around near the end. What we did…and it worked… was attach a 2inch strip of paper to the front and a 3inch strip to the back. We then used a custom size of 16x8.5 or 2 +11+3 =16. That got the negative off to a good start and allowed the entire “negative” part to exit the machine before you run into skidding problems.
You have to look at it as an adventure. I’ve used Jon’s inks and systems since day one. They will drive you crazy from time to time but when you work out the kinks it is well worth the effort! Besides most of the issues are with the printers. Hope that helps.
Hi Keith,
Thanks for your detailed instructions. Before I try your second method, I want to be sure that the 1430 and P400 star wheel assemblies are identical. From what I can see, they look the same. Does a single nut at the left end lift the entire frame? Or is a second nut also needed on the vertical tab at the right end of the frame?
Maybe this has been asked elsewhere, but what causes star wheel marks to appear on negatives for the first time after more than a year of trouble-free printing?
I’ve never seen a P400 (or any of the P-series printers) in person so I can’t say for certain, but on the 1430 I only used the little plastic nut on the left side. It holds the whole frame up.
My current 1430 hasn’t had a problem with star-wheel marks, though my first one did.
Total ink load plays a big role in whether or not the star-wheels leave tracks on the negative. Any chance your ink load has increased with that new cyanotype formula from Mike Ware you wrote me about recently? It seems to be longer scale than the previous formula, which would require a negative with longer scale, which means a higher ink load. I think.