I’m measuring 4 to 4.7 optical transmission density (depending upon printer) and the UV can’t even measure (it gives me a -1.9 density whenever anything is over 5 UV). I’m pretty sure it will not have a problem with density in v2.
320 is high. These lights don’t bronze as much though so it’s possible to over-expose without seeing issues in the blacks.
My coatings just dried and I was getting ready to print some tests and saw something on the negative that did not look right. The DMax on the neg seemed thin so I pulled a negative from the the November workshop and voila!
These negs coming off my 3880 currently are not right. Time to dig into the printer and inks. And time for a whiskey.
Whisky is the smart move and I recommend you keep a bottle decantered into a 1000ml volumetric flask with a cut glass stopper. Their cheap enough to have a few. No one suspects that way. It’s where the proverbial shot glass comes from that everyone favors. Just saying…
While the coatings were drying I decided top-off the cartridges in this PiezoDN 3880 (lovingly referred to as Stieglitz) and noticed a couple channels were lower than I expected. Could it be this simple? I just printed one of my reference targets that judges separation on a baryata paper and even without the GO it looks fine.
I think I’ll go ahead an reprint the negs and finish this whiskey.
Hey Scott - It has happened to me a couple of times that something somewhere in the computer got out of whack (highly technical term) and the black channel seemed to not print at all one time and the other time printed in one part of the image but not the rest.
[attachment file=26384]
In this one it printed in the 21-step strip but not in the main image - the border should be solid black. I have no idea why, but closing and reopening PrintTool solved the problem. (Or maybe it was rebooting the computer!) Anyhow, it’s worth a try.
Keith, I’m glad to know this sort of gremlin doesn’t only reside at my place.
I think this was pilot error though; let me inks get to low. Check out this pic. First neg on left, new on right. Even with this crappy pic you can see the density difference.
I’m having a closer look at how we determine correct exposure time too. I’ve already got some unexpected results from what I’ve done today. Still analyzing it though, and have a few more tests to run. We should compare notes. Maybe tomorrow after I get this stuff in graphical form.
in order to find the exposure time, i tend to scan the target with a flat scanner (i use an epson v850) and then use the threshold adjustment on photoshop. It gives you a kind of “animation” as you move the slider so that one sees where the blackest black takes place FIRST and hiw it spreads all over the rest if patches. I have realized sometimes using the eyes is not clear enough.
When using this method on Stouffer 21 negs, i could see how at first patches get “clipped” one by one and hiw at a certain moment there is the whole group of remaining patches who go black at once (showing the blackest black is reached). That is how i calculated my exposure times, but as Jon said i was using the Stouffer PLUS the pictorico, so i knew i was erring by the added density of the Stouffer (which i sipposed negligible but that i see might be up to 1/3 of exposure?)
Otherwise, when using the test strip method i frequently had the problem or dituation Peter Mrhar mentions on his book Easy Digital Negatives (that i referred to on my last email), where even if two patches merge already on the Covered by pictorico band, their density is still lower than the corresponding UNcovered patch. What he recommends in this case is finding the patch where both covered and uncovered patches merge, even if the covered parches barely showed distinction already with inferior times.
on a side note, i have barely seen bronzing on my tests by using the metal halide lamps… blacks seem to reach a certain level and stay more or less constant after a certain value…
i would really like to hear your views about the calculation of the exposure time, since it might seem exposure time might be one of the reasons for these reported cases of fogging?
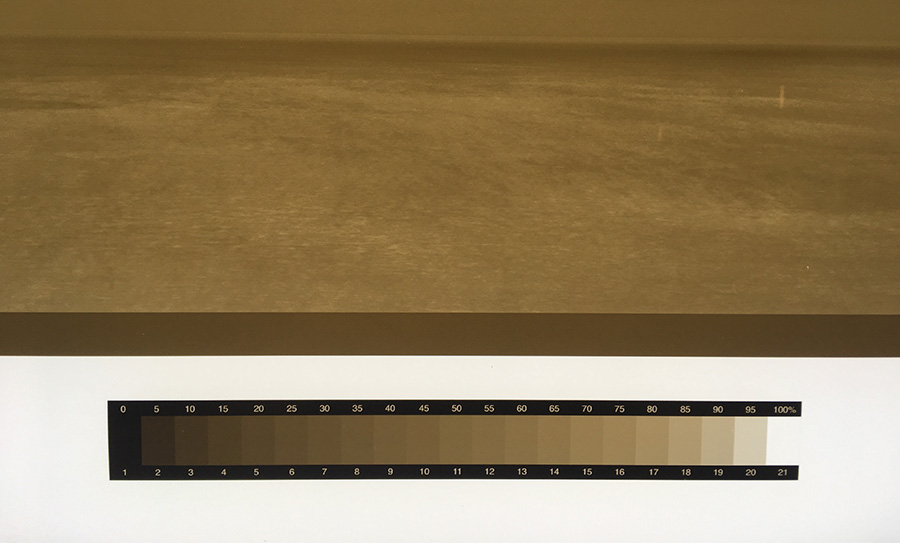
Here’s snap of my exposure test with 1/3 stop. I leave the center with no film overlap so that I can find the patch where merges. I let it dry a day, use a densitometer to make several reading, and then decide with a simple visual observation in different lights.
With your fogging issue, I would do the same test but print a black strip using the master profile. You would then be able to calculate what gives you the best black while preserving paper white. I would also overlap some rubylith to rule out chemical fog. I’ve made this quick diagram in PS:
I’ve been using a metal halide lamp for nearly 10 years, first a 26-1k and more recently a tecnnigraf, and I’ve never had any issues of light fogging with Piezo inks. Just until recently having started using PiezoDn, I’ve made my negatives using shade 2,3,4,5,6, and I’ve always been able to generate enough density to get paper white. And that’s a lot less than with the Master Curve. My next exposure test I will try with the above. I’m curious now…!
Happy New Year to everyone!
PS: Rafael, let’s get in touch privately when you get back!
Update: Long story short, I’ve been having some trouble reaching a certain dmax on a gampi since switching from Bostick’s ferric to Pizzighelli and Hübl’s formula. This is another matter entirely, but I am bringing it up because this morning I was planning to push exposure much beyond my comfort zone and see what happens. But because of this discussion, I thought pushing the exposure too much could result in fogging. Using the method above, I made an exposure at 20, 25, 32 and 40 minutes with my 1500W bulb, and I am happy to report that I am getting equally paper white under the black strip and rubylith, even at 40 minutes exposure.
Test near complete and time to report back. As it turns out I had two issues. One minor, one major. The minor one was related to the PK in this 3880 not seeing enough action and pigment settling in the line. A couple of Power Cleans cured that.
The major issue was all me; pilot error related to Print Tool. Let’s just say I was not printing ‘negatives’.
I haven’t measured a the UV transmission density of the neg (but I’ve got my eye on an Xrite 361T) but I don’t think I am having ink negative density issues related to ink. By the way, I currently have K7 Special Edition installed.
All this conversation does bring up a question for me related to the Na2 forumulations many of us are using with this process. What is a reasonable amount of fog? Density of .01?
After all this time away, I could finally sit down and make new tests of maximum exposure with the new Piezo DN v2.1. If you remember, I started this thread with problems of fogging on the highlights which seemed to be due to Piezo Dmax areas not being able to block completely the UV of my metal halide unit (4000 W). I would like to bring here the conclusions.
Basically:
I tested the exposure time by using the method kindly suggested by Gilles Lorin. Based on the results, I concluded my initially calculated exposure time was right.
I made a test exposing with this time a coated paper, using the piezo v2.1 Dmax to block light, and also a piece of Rubylith. Then I measured with a densitometer the density values of the paper (Berger Cot) on the white areas.
The results were: The white areas covered by Rubylith and the PiezoDNv2.1 reached the same Dmax, of around 0.030 to 0.040. This was also the same value of the areas covered by both of them (one of top of each other).
The Dmax of the unprinted side of the paper was also around 0.020 to 0.040
I tried with two different scenarios of light in the studio. The Ferric Oxalate used was a bit old (2-3 months) but based on the results, I concluded that I was not obtaining chemical fogging (otherwise the Dmax of the reverse side of the paper, unprinted, would have been inferior), no light fogging (same reasons) and no problems with the Dmax of the piezoDN v2.1 to block completely the UV. If you remember, I had problems with the piezoDN 1.9 to block UV light completely under my bulb.
My tests also found that the Dmax of the white paper as it comes out of the box (Berger Cot 320) is inferior to the density of pure white at the end of the developing-clearing-rinsing process, even when measuring the unprinted areas at the back of the paper (0.015 or 0.020 as opposed to 0.040). I assume this is due to normal “staining” happening through the process of manipulation and washing, or the gelatine sizing of the paper used for Berger Cott that makes it more white.
I thought you might find these findings interesting!
Thanks all for your help with these things. I will go on sharing my findings in case they can help someone.