Hi, i am trying out a new paper in quest to find something of a more reasonable cost to use for certain projects.
I used the Hahnemuhle cotton rag UHD curve as base as this paper is similar to it, though a bit smoother.
I am using a DTP70 so used the 100x7 target as read this was a good start for new papers.
Target was printed on 1500w with SE ink set and allowed to dry overnight, the V1 image (first one) is the result.
I then just created a new curve and printed same target again, this has just been dried with hair dryer for the moment and the V2 image is curse result.
What if any adjustments should make to either the V1 or V2 curve?
thanks
Just a note the videos are very helpful, keep then coming
Hi, ok just spotted a mistake on my part, i had left the starting curve for new V2 as hahnemuhle cotton rag, here is the results starting curve set to the new created curve.
I am beginning to think that using hahnemuhle cotton rag curve as base curve may not be the right choice, the target i have printed look very different to one i have printed on other papers!
The only way i can explain it is they have a mottled look in the greys especially the mid grey, it gets worse the further down the print?
Will post an image of it later.
The paper in question is:
Pinnacle Cotton Smooth Fine Art 310gsm
It is OBA free and meets the Fine Art Trade Guild lightfastness requirements of “6 or more on the Blue Wool Scale”.
Sorry for late reply. I have been underwater with work to say the last.
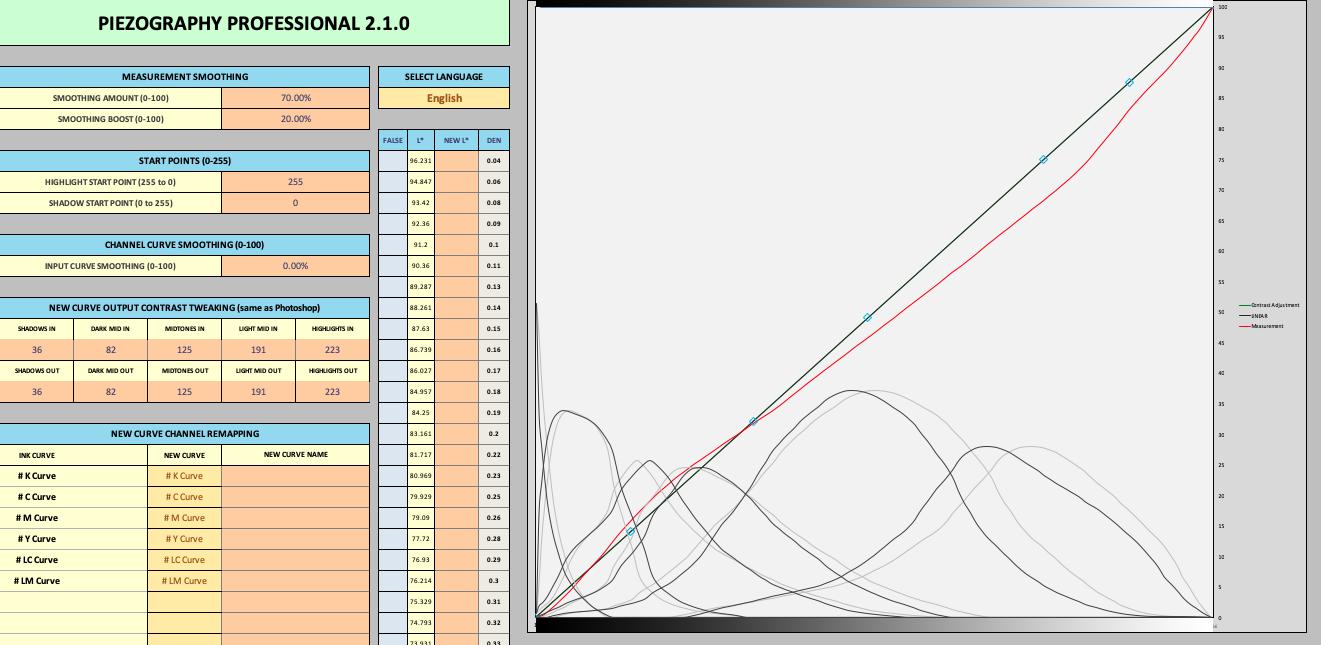
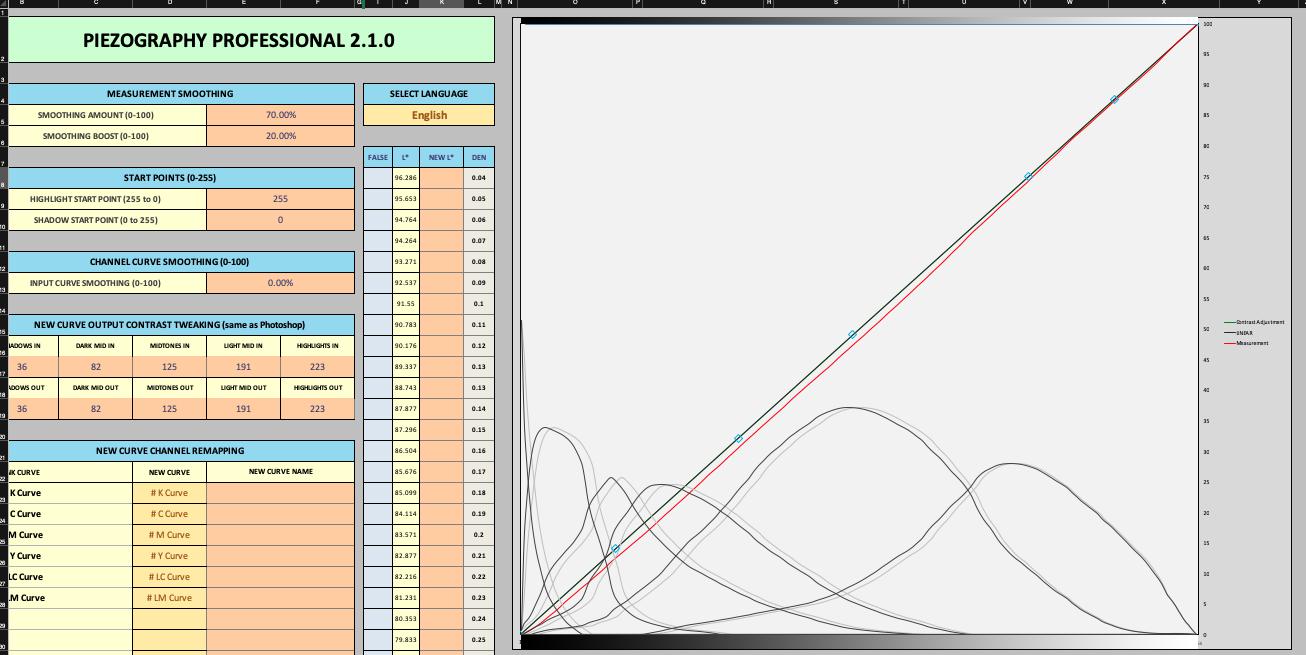
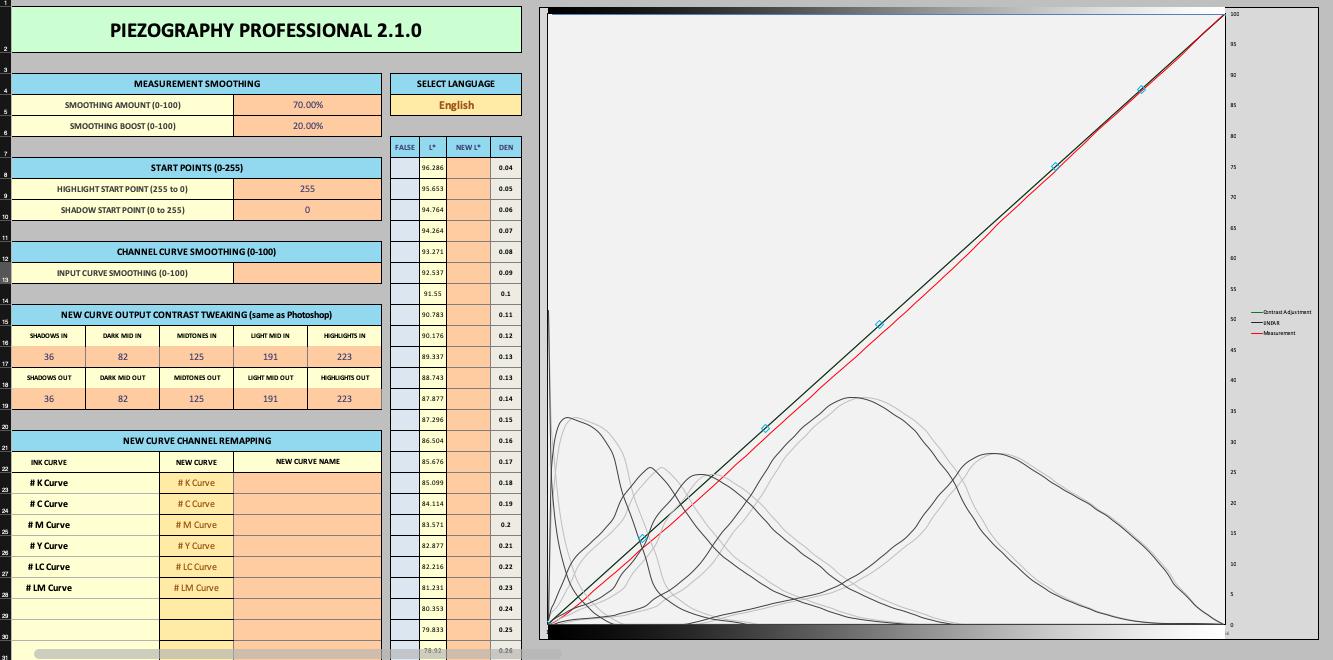
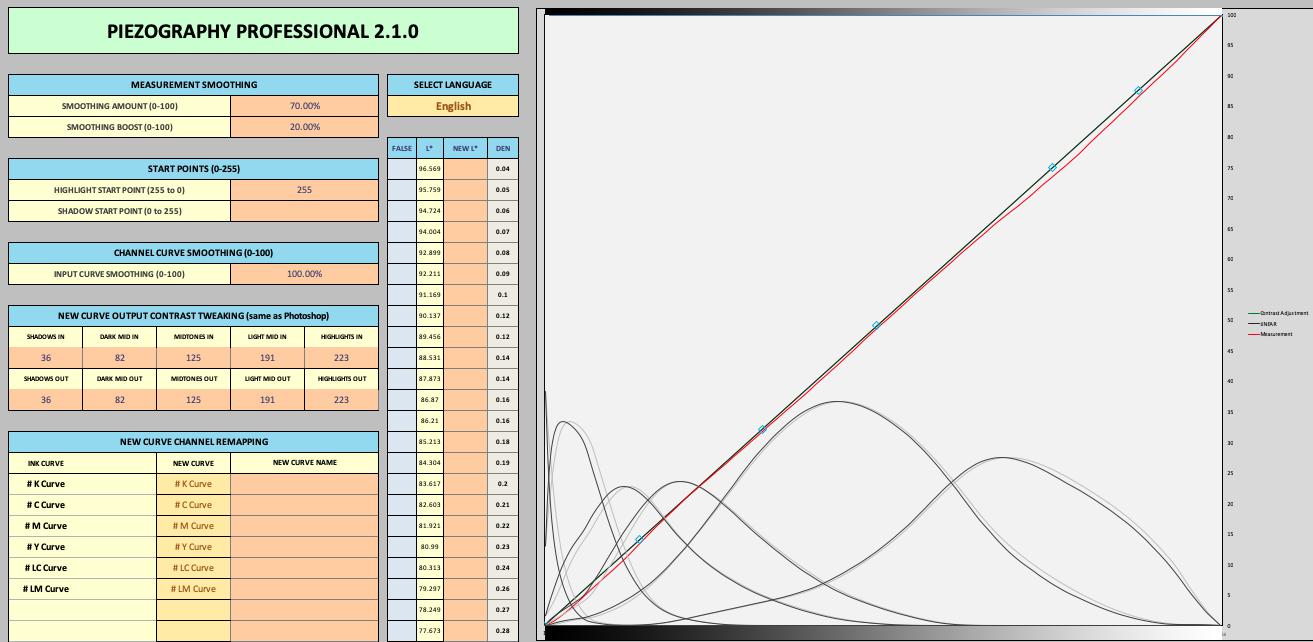
The lin screenshot you sent is perfect. Slightly under/over the middle line is fine and not visible to naked eye as non-linear.
But with mottled grey that is a problem. You need to limit the ink and then re-linearize. Pop the starting curve in there without measurements (delete the measurements) and go to the limiting section and limit to about 100% in shadows, 80% in the next darkest and 70% everywhere else. Then print a target from this new limited curve and linearize. See limiting video at link below:
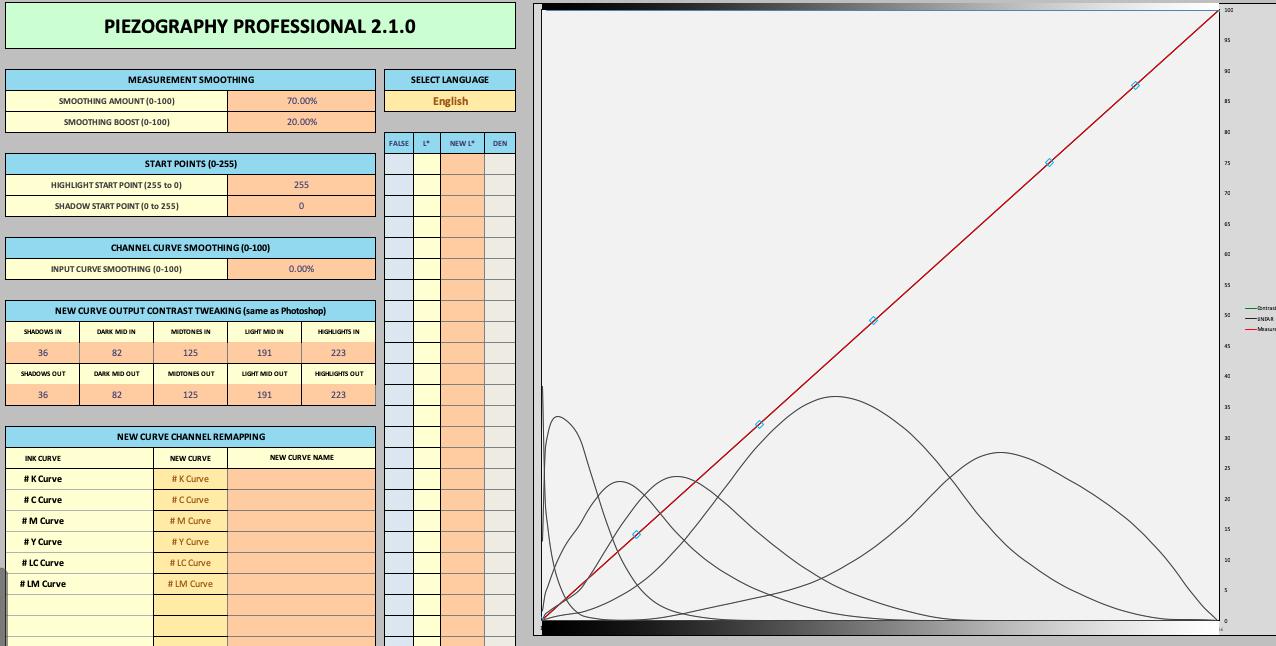
This is really beautiful. Smooth and gradual individual curves! Very nice.
I have seen many linearizations over the years that gave straight lines but have small areas where there are abrupt changes in individual curves (your first curve above as an example). They generally work fine, but you’ll always find some gradient in an image where things will conspire to do something strange. Not likely with nice smooth curves like this.
I am new to using this software, but it sure seems to get to a nice linearization quickly!
The only thing I would add is to be sure you are getting as deep a black as is possible with a given paper. It can be disappointing if your gradients are beautiful, but the whole range is less than it can be. Just be sure to check that the measurements at the dark end are what you expect.
I would go back to a calibration print like you showed in your other post about Enhanced Matt paper. Just measure the black channel. See what value you get at 100%. Often this calibration step will overshoot - so that one of the patches below 100% gives the darkest reading. Your final (.quad) output curve should be close to this max value. If its not, then you still need some work on the curves. If it is, then you may have an ink issue.
If you do have an overshoot, you can estimate what output value gets you near the peak. It’s just the patch percent value / 100 * 65536. Often a number like 40000 would be the darkest value.
Next open up the quad file in the text editor, look for the black (K) channel, and see what the max value is in that channel.
Most (not all) curves have very little of anything but K at max black so this max value in the quad should be close to your estimated max black value above.