Hi Walker
What I am not understanding is how to correct/adjust to get a linear curve?
After printing and measuring the 256 step chart, I consistently get much darker mids and quarter tones then hoped for.
I am attaching screenshots for a number of different paper/starting curves, always too dark - across the board.
I assume this means my machine is printing dark?
My question is how to correct/adjust to get the curve more linear?
In your instructional ‘Calibration Tutorial’ video, the measurements are pretty spot on and no adjustments needed. But what about when does need to adjust?
thanks so much
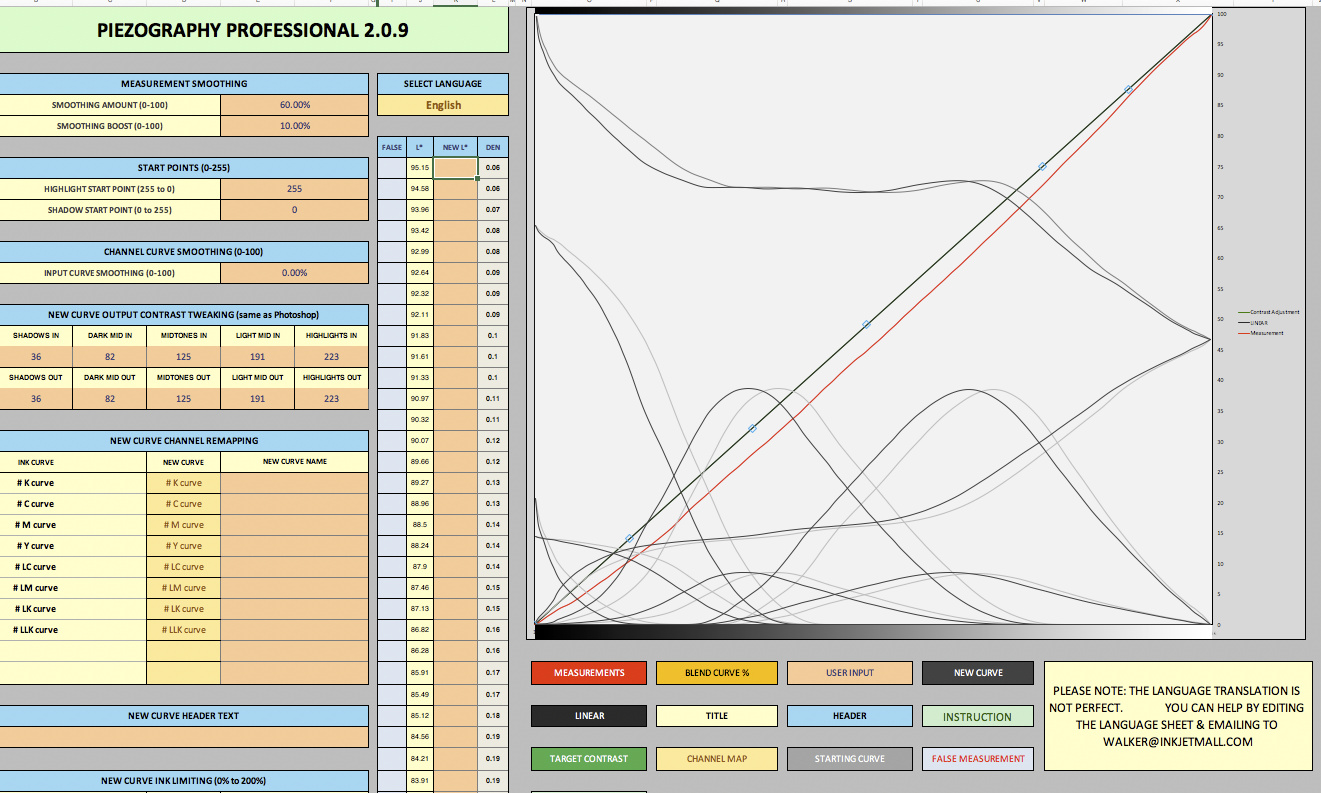


This is typical of the deviation between some printers and others and is the whole reason for this software (or any profiling software really)
If you view the whole tutorial video it shows the process for making a new curve out of the “starting curve” and “measurements” which you’ve already just about done. You then save the New Curve, install and print with this new curve. Just follow the video and you’re good.
best,
Walker
Aha!
Of course. Now I understand and am sorry for the stupid question.
The ‘New Curve’ takes the measurements and makes them linear? Of course
So now if I print the 256 step target using the New Curve then the measurements will be linear?
Sorry, bit of a slow learner 
Best
Neil
Yep. Take the new curve, follow the video to get it installed, and print with it.
best,
Walker