Epson 4900 banding despite perfect nozzle check + auto align

Running a carbon K7 ink set on a 4900 with brand new head. After a few perfect prints (both paper and Pictorico OHP), the prints started to show faint banding.
I always run a nozzle check before printing, no issue there.

I ran an auto head align too, both with plain paper, fine art paper and glossy photo paper that matches the Pictorico in thickness and also uses PK ink.
Alignment pattern appears perfect too.

Yet the prints look like this:

!

Shows up on the OHP and prints over in Ziatype unfortunately.

Has anyone any idea how to solve this?

Cheers,

Csaba

Doing auto-alignment is not advised. If you did this with the LLK (clear) channel then it could be way off.
We always recommend to align heads with color ink before they go to Piezo. You may need to check the alignment with a UniD manual test on gloss paper.

That said, you should check your settings. Are you printing 2880 dpi UniDirectional from QuadtoneRIP?

best.
Walker

It started acting up before I did the auto alignment.
I set custom paper according to a post here on the forum to avoid star wheels (Glossy 170 paper, narrow platen gap, longer dry time between passes, etc. – first I thought the dry time is the problem but it does the same with no paper setting as well.)
Printing 2880 Uni 16 bit as directed and using the appropriate curves. I had equally stunning results to begin with on Hahnemuehle photo rag, Moab Entrada, Baryta and Pictorico (the latter 2 with PK and GO).
So obviously the auto align did not help. I printed a manual align set as well but it’s hard to make out the lines with the clear and shade 7 channels. All the same, I’ll give it a go again with gloss paper and try to figure out how to enter the correction numbers.
Thanks, Walker, I’ll keep you posted.

Cheers,

Csaba

Okay, I printed a Uni-D manual test but only the C, VM and PK patterns are discernible, the rest are so faint, can’t make out the lines. ON a scale of 1 to 7, the smoothest patterns fall between 3 and 5. However, I don’t see any menu item on the service panel to enter the correct values. (sigh)

Best,

Csaba

The menu item shows up directly after running the manual UniD test.

Looking at your first target print (after the auto alignment check) definitely looks like either an alignment issue or a dirty encoder strip or voltage problem in the main board itself. I this a refurb 4900?

best,
Walker

Oh dear. Yes, it’s a refurb, recently installed with a brand new head and carbon ink in new cartridges. It worked perfectly, I pulled a stunning A2 on fine art paper, then changed to photo black and printed on baryta and OHP just fine. I noticed the bands on a negative image and test target at first, really out of the blue.
If it is what you suggest, should I get the serviceman back again or is it fixable?

Thanks,

Csaba

I just printed an image on glossy paper, same thing, the lines are running all along vertically:

So if it was out of the blue like this it’s most likely a voltage issue with the main board and is likely why the 4900 was a refurb to begin with . . . can’t comment exactly what to do.

-W

:roll_eyes: Techie time again. Thanks, Walker.

Hi Walker,

Epson techie pointed me in the right direction: paper feed adjustment problem.

I found the same issue and the recommended values in an earlier post:

Basically the recommended “photo paper 170” custom setting automatically sets the feed adjustment value higher, resulting in banding.
Playing around with adjustment values works.

On a different note, the glossy 170 setting is still thicker than the Pictorico OHP, so when you run a thickness pattern even the lowest value (1) is slightly off. I ran a plain paper setting thickness test and indeed there was some leeway: the correct thickness was around 3-4. Which means that technically the printer is set to a slightly thicker media when printing on OHP (which is 5.7 mil thick, as I understand). Maybe the difference is negligible but it might also affect banding.

Cheers,

Csaba

Hi Csaba,

I am Rafael, who posted the post you mentioned.
Since then, i changed the head since it went bad and still have to load the piezo carts into the printer this summer to resume digital neg printing… so i hope the problems have disappeared if they were related to hardware?

May i ask you whether you could solve your banding problem by adjusting the paper feeding value? If yes, which are the custom values you used for your custon paper for Pictorico Ultra?

Thanks in advance and warm regards,

Rafael

HI Rafael,

The settings that Walker recommended in the above post seem to fix the issue. I need to run tests +/- the suggested paper feed adjustment setting but -0.1 is a good start.

I guess it’s best done with 170g glossy photo paper as a proxy for Pictorico, to emulate the cca. 6 mil thickness.

I’ll keep you posted with the results.

Hey Rafael,

Just a quick follow-up.
I tested on el cheapo 170g glossy paper. Paper feed adjust A 0.15% value seems like the sweet spot. Going into positive values visibly brought on the banding issue.
Narrow platen, -1 suction and 2 sec. drying time will probably take care of the star wheel marks on OHP I reckon.

It remains to be seen if feed adjustment B needs to be reset when printing on larger negatives (like A2+).

Good luck,

Csaba

1 Like

Hi Csaba,

Thanks so much for the input. I had problems at the time with the head, and chances are that was the reason i encountered banding last summer… but i will test again this next few months, and i hope the banding will be gone! Good to know your problem went away! Leep me posted if you bump into new conclusions. It might seem that x900 models are a bit sensitive to these issues?

Warm regards,

Rafael

Hey Rafael (and anyone with the same banding issue),

Here’s an update – and hopefully solution – to the banding problem.
Unfortunately the 4900 manual has nothing about manual paper feed adjustment, only the automatic process is mentioned, which doesn’t work with Piezography ink, let alone transparent media.
I’ve been looking for tips online and this is the only review where the pattern features at all: http://www.northlight-images.co.uk/review-epson-p5000-printer/
Surecolor P5000, essentially the same printer.

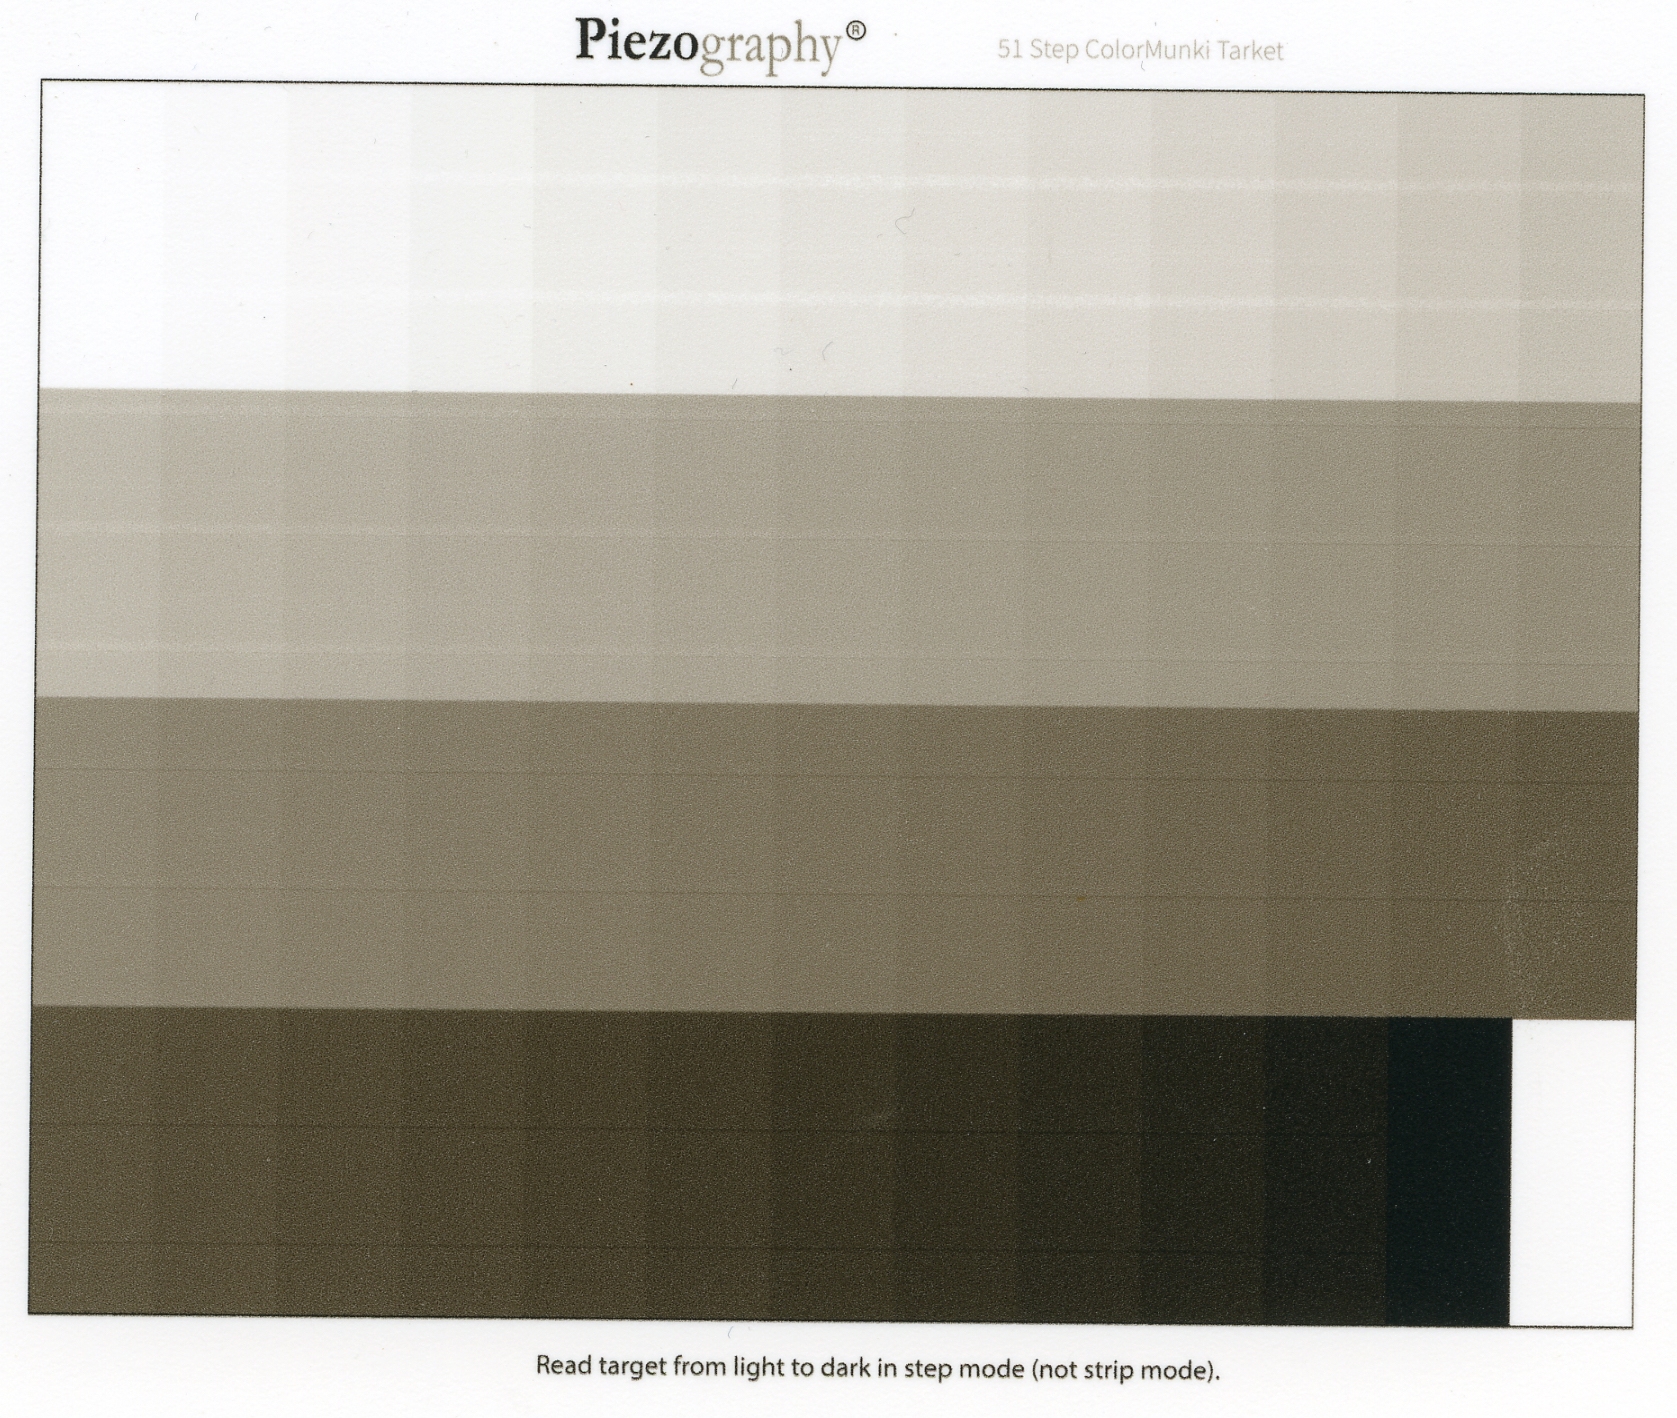
Anyway, after dragging countless feet of useless trial and error sample prints out of the Epson, I printed a paper feed adjust pattern (same menu, above VALUE under p.f.a. “A”).
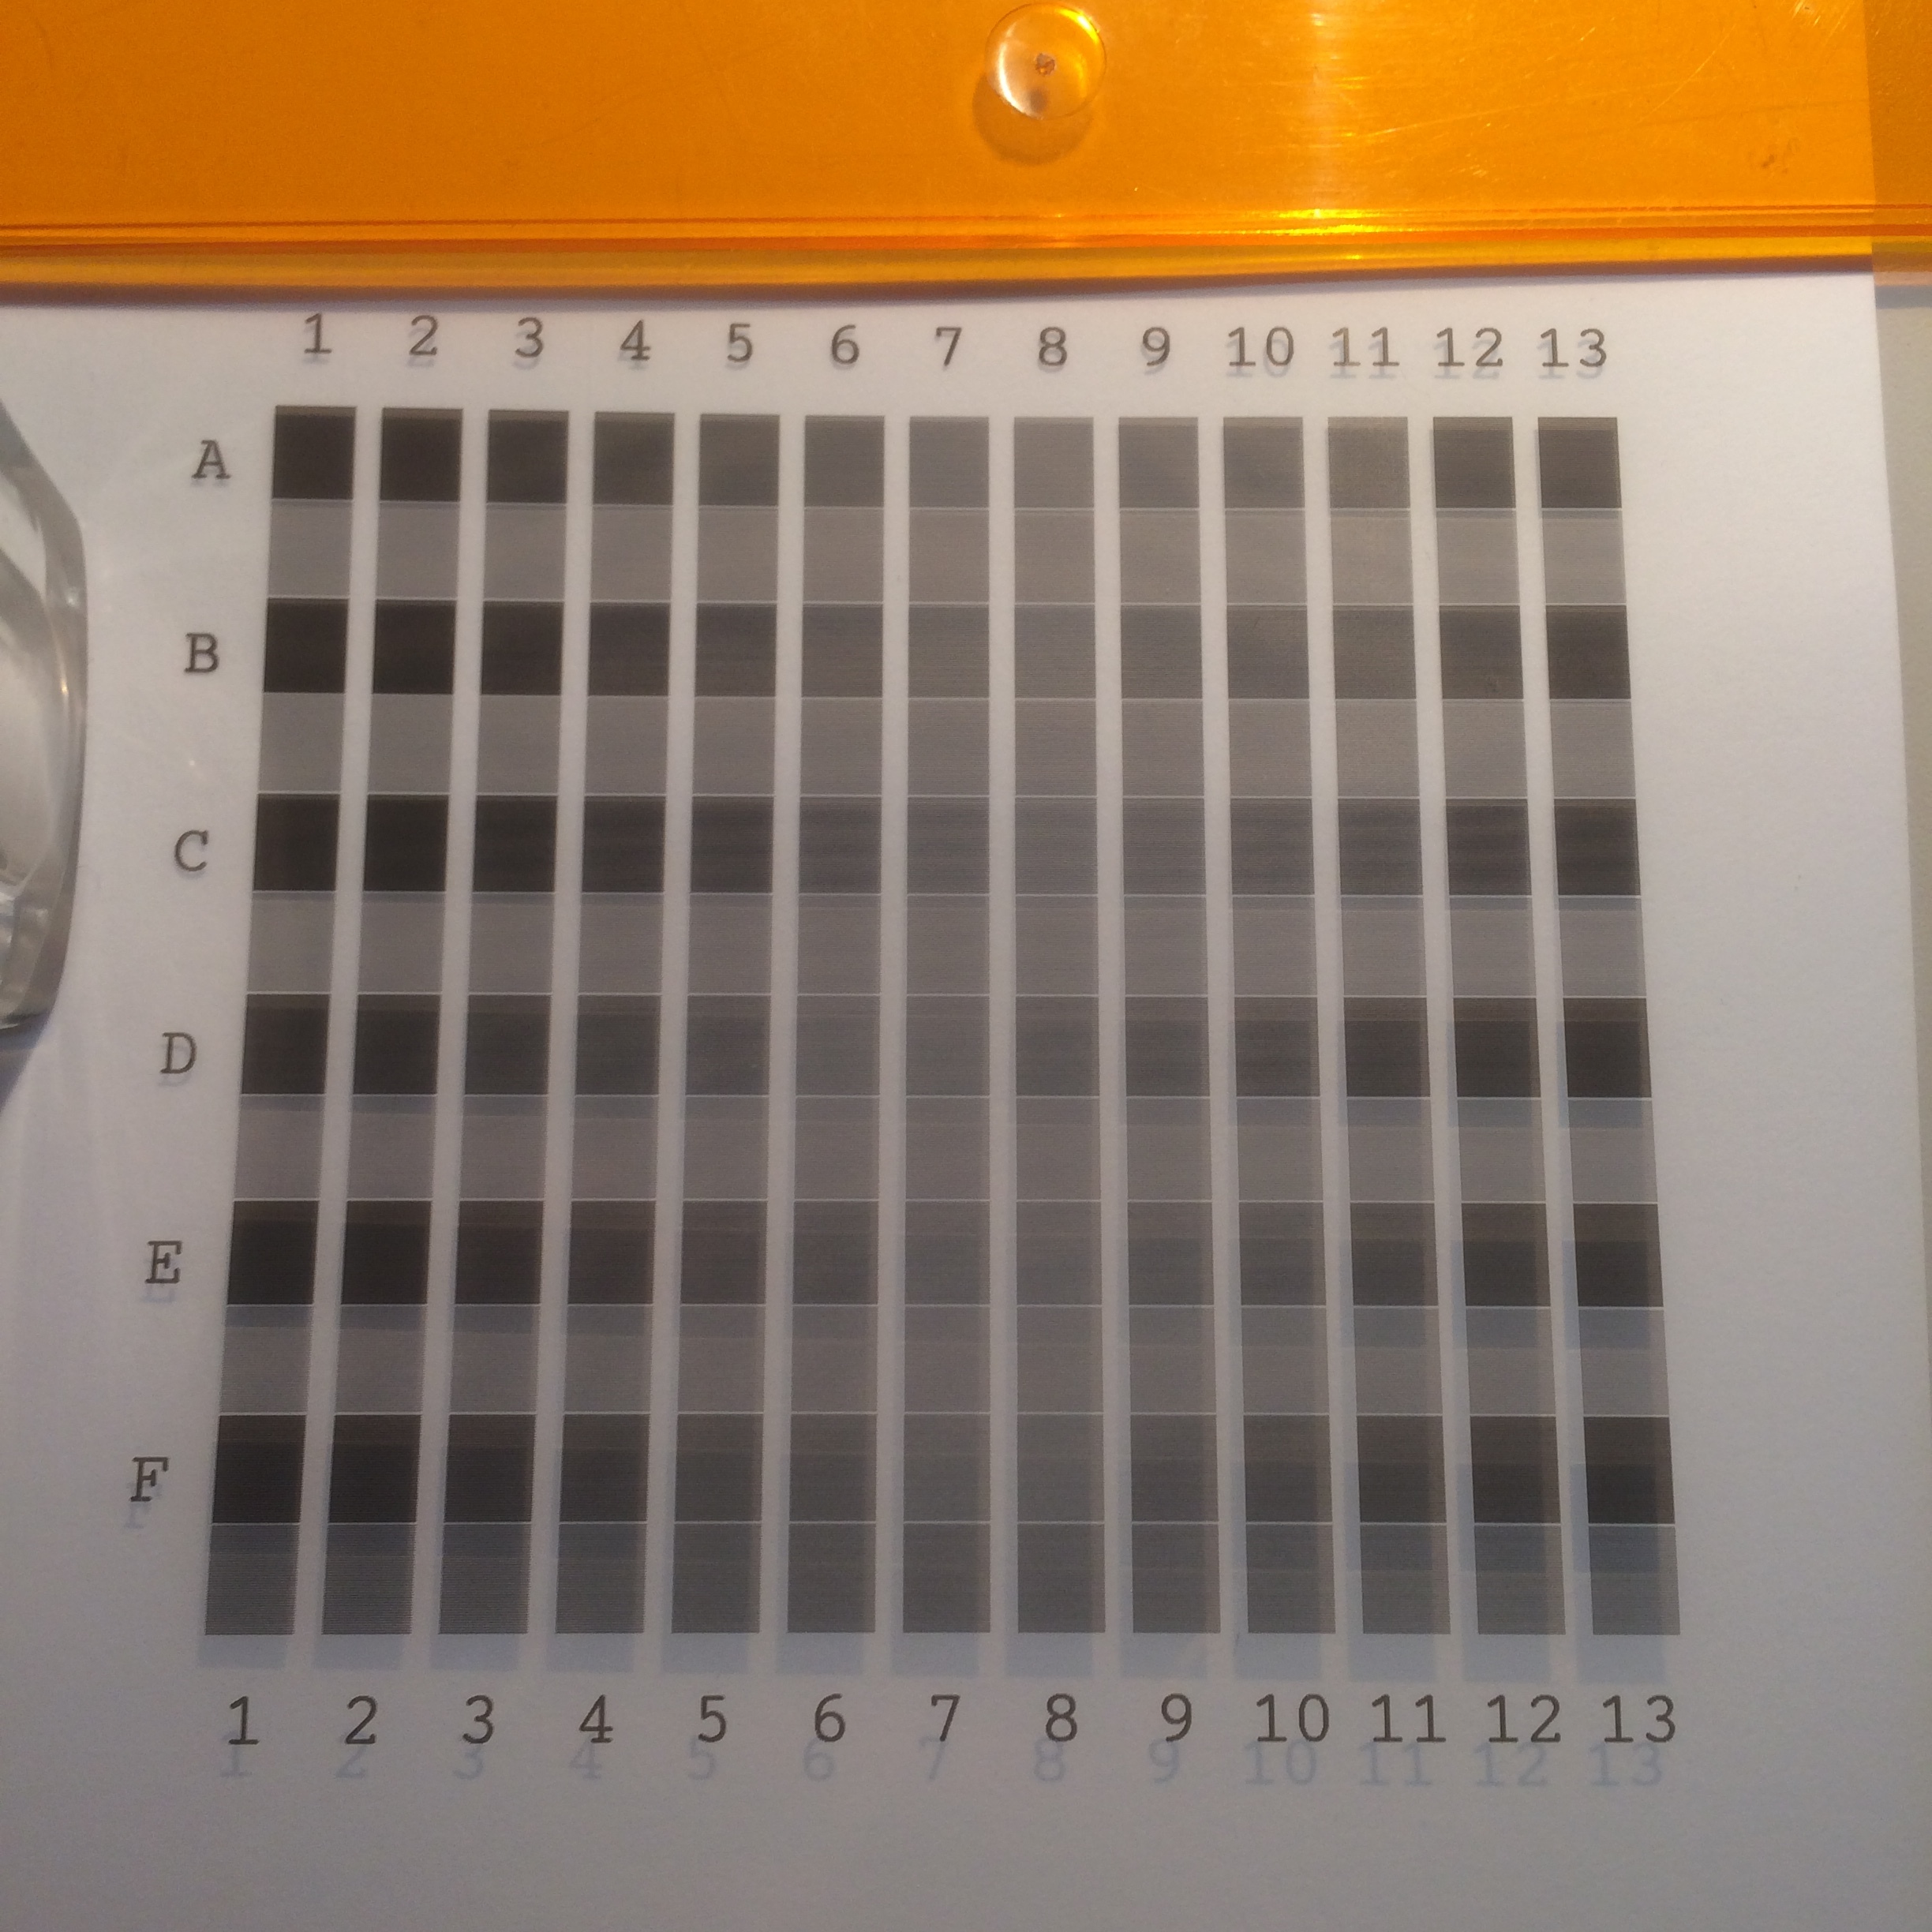
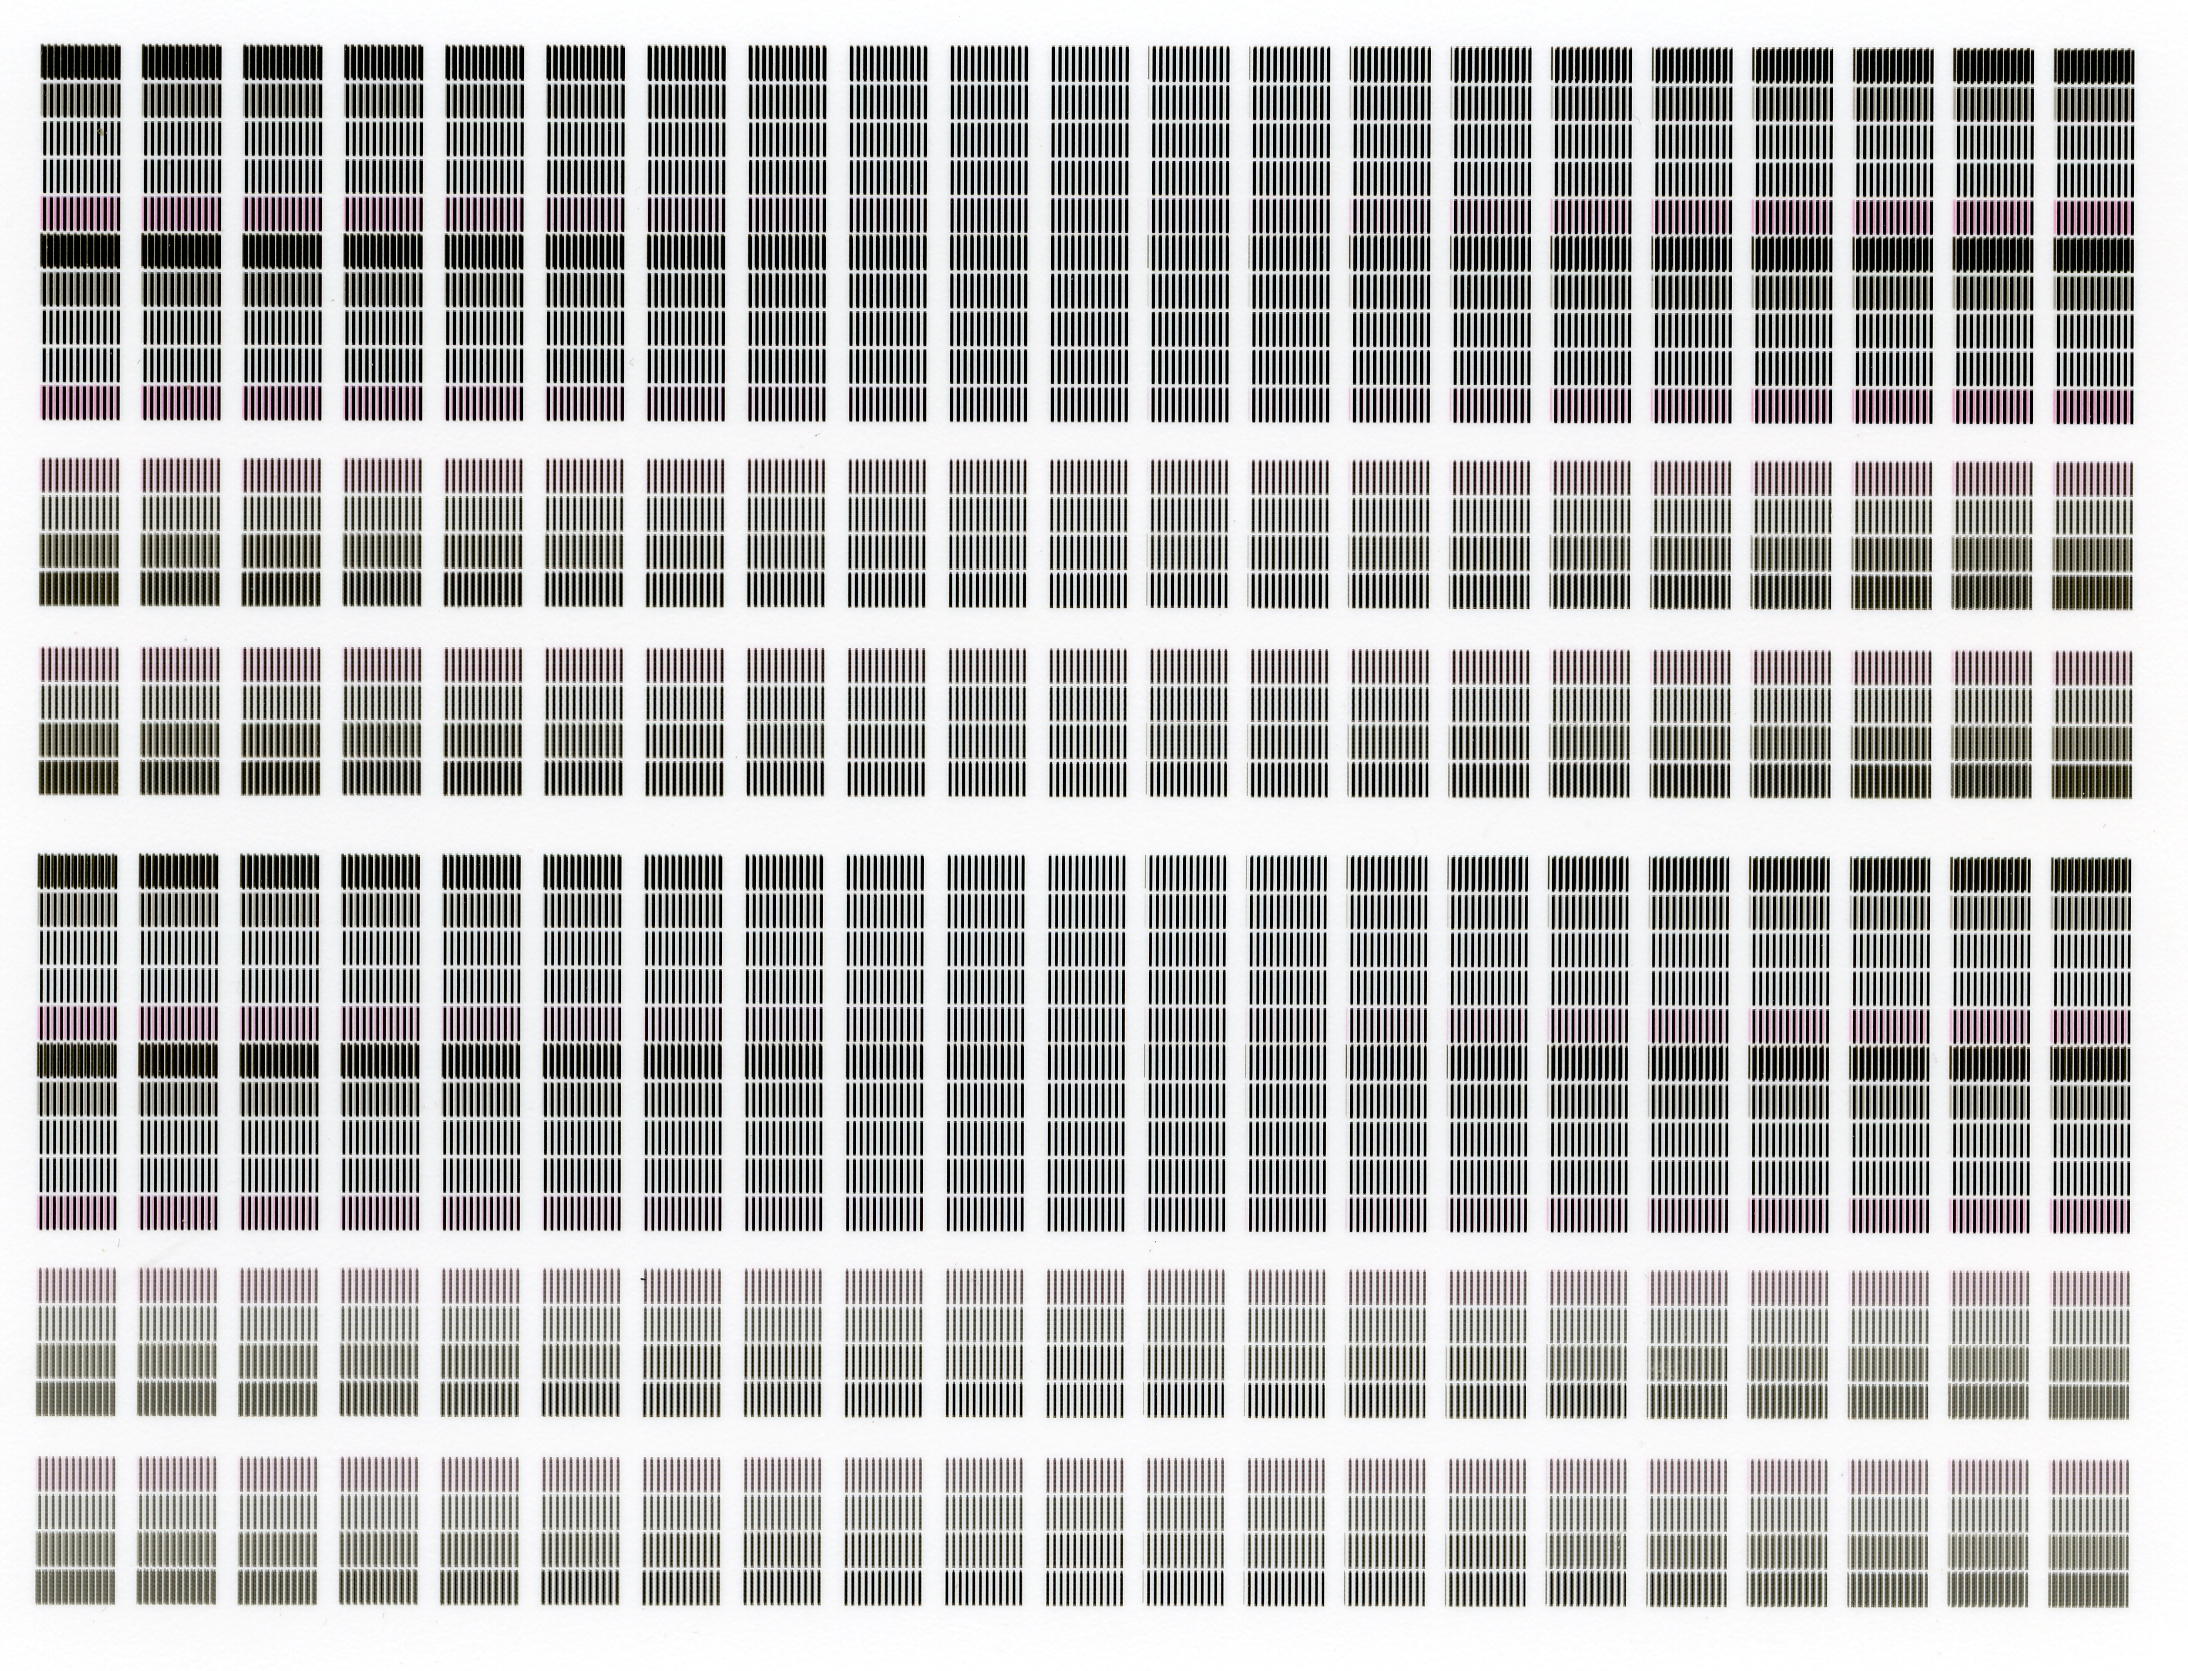
It looks like this:

After printing an adjustment menu pops up on the dash LCD and stays there forever, asking for adjustment values.

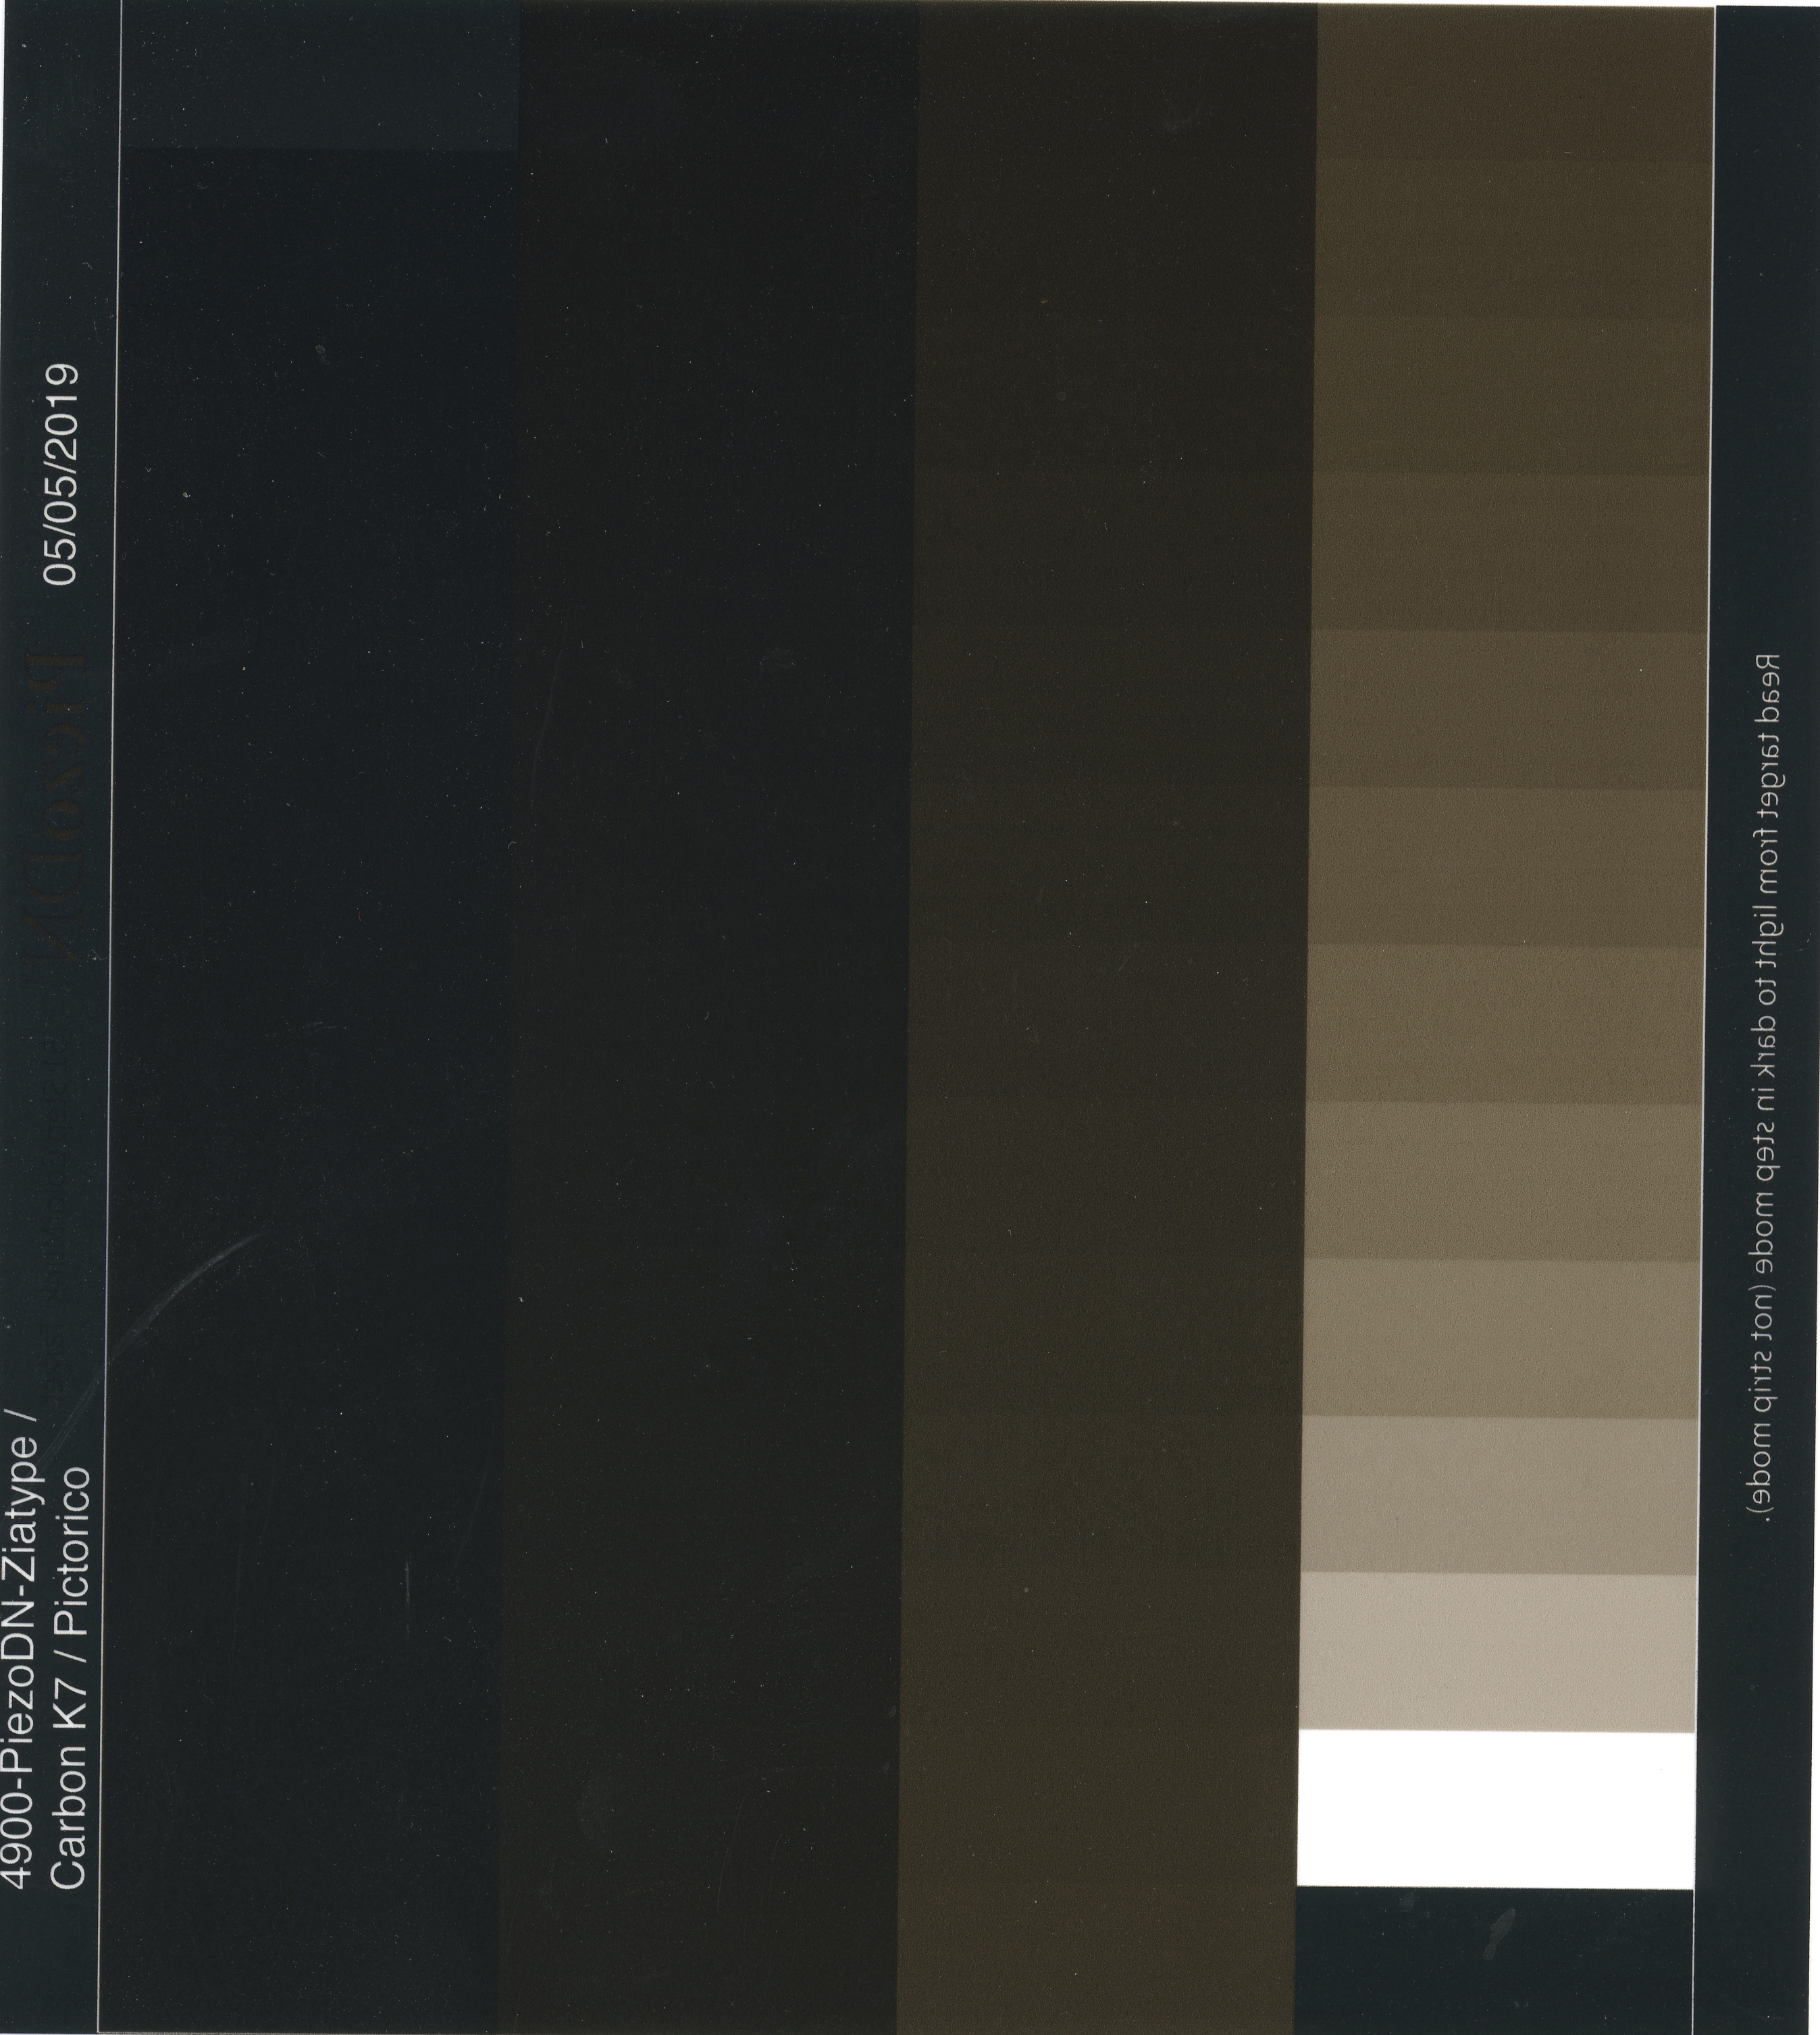
Now, get your best pair of glasses and stare at the print over a light table, or simply hold it against a white computer screen (I cranked up the luminosity on my iMac to insane max bright – don’t forget to set it back before you start editing again!), keeping some distance to avoid moiré. Like so:


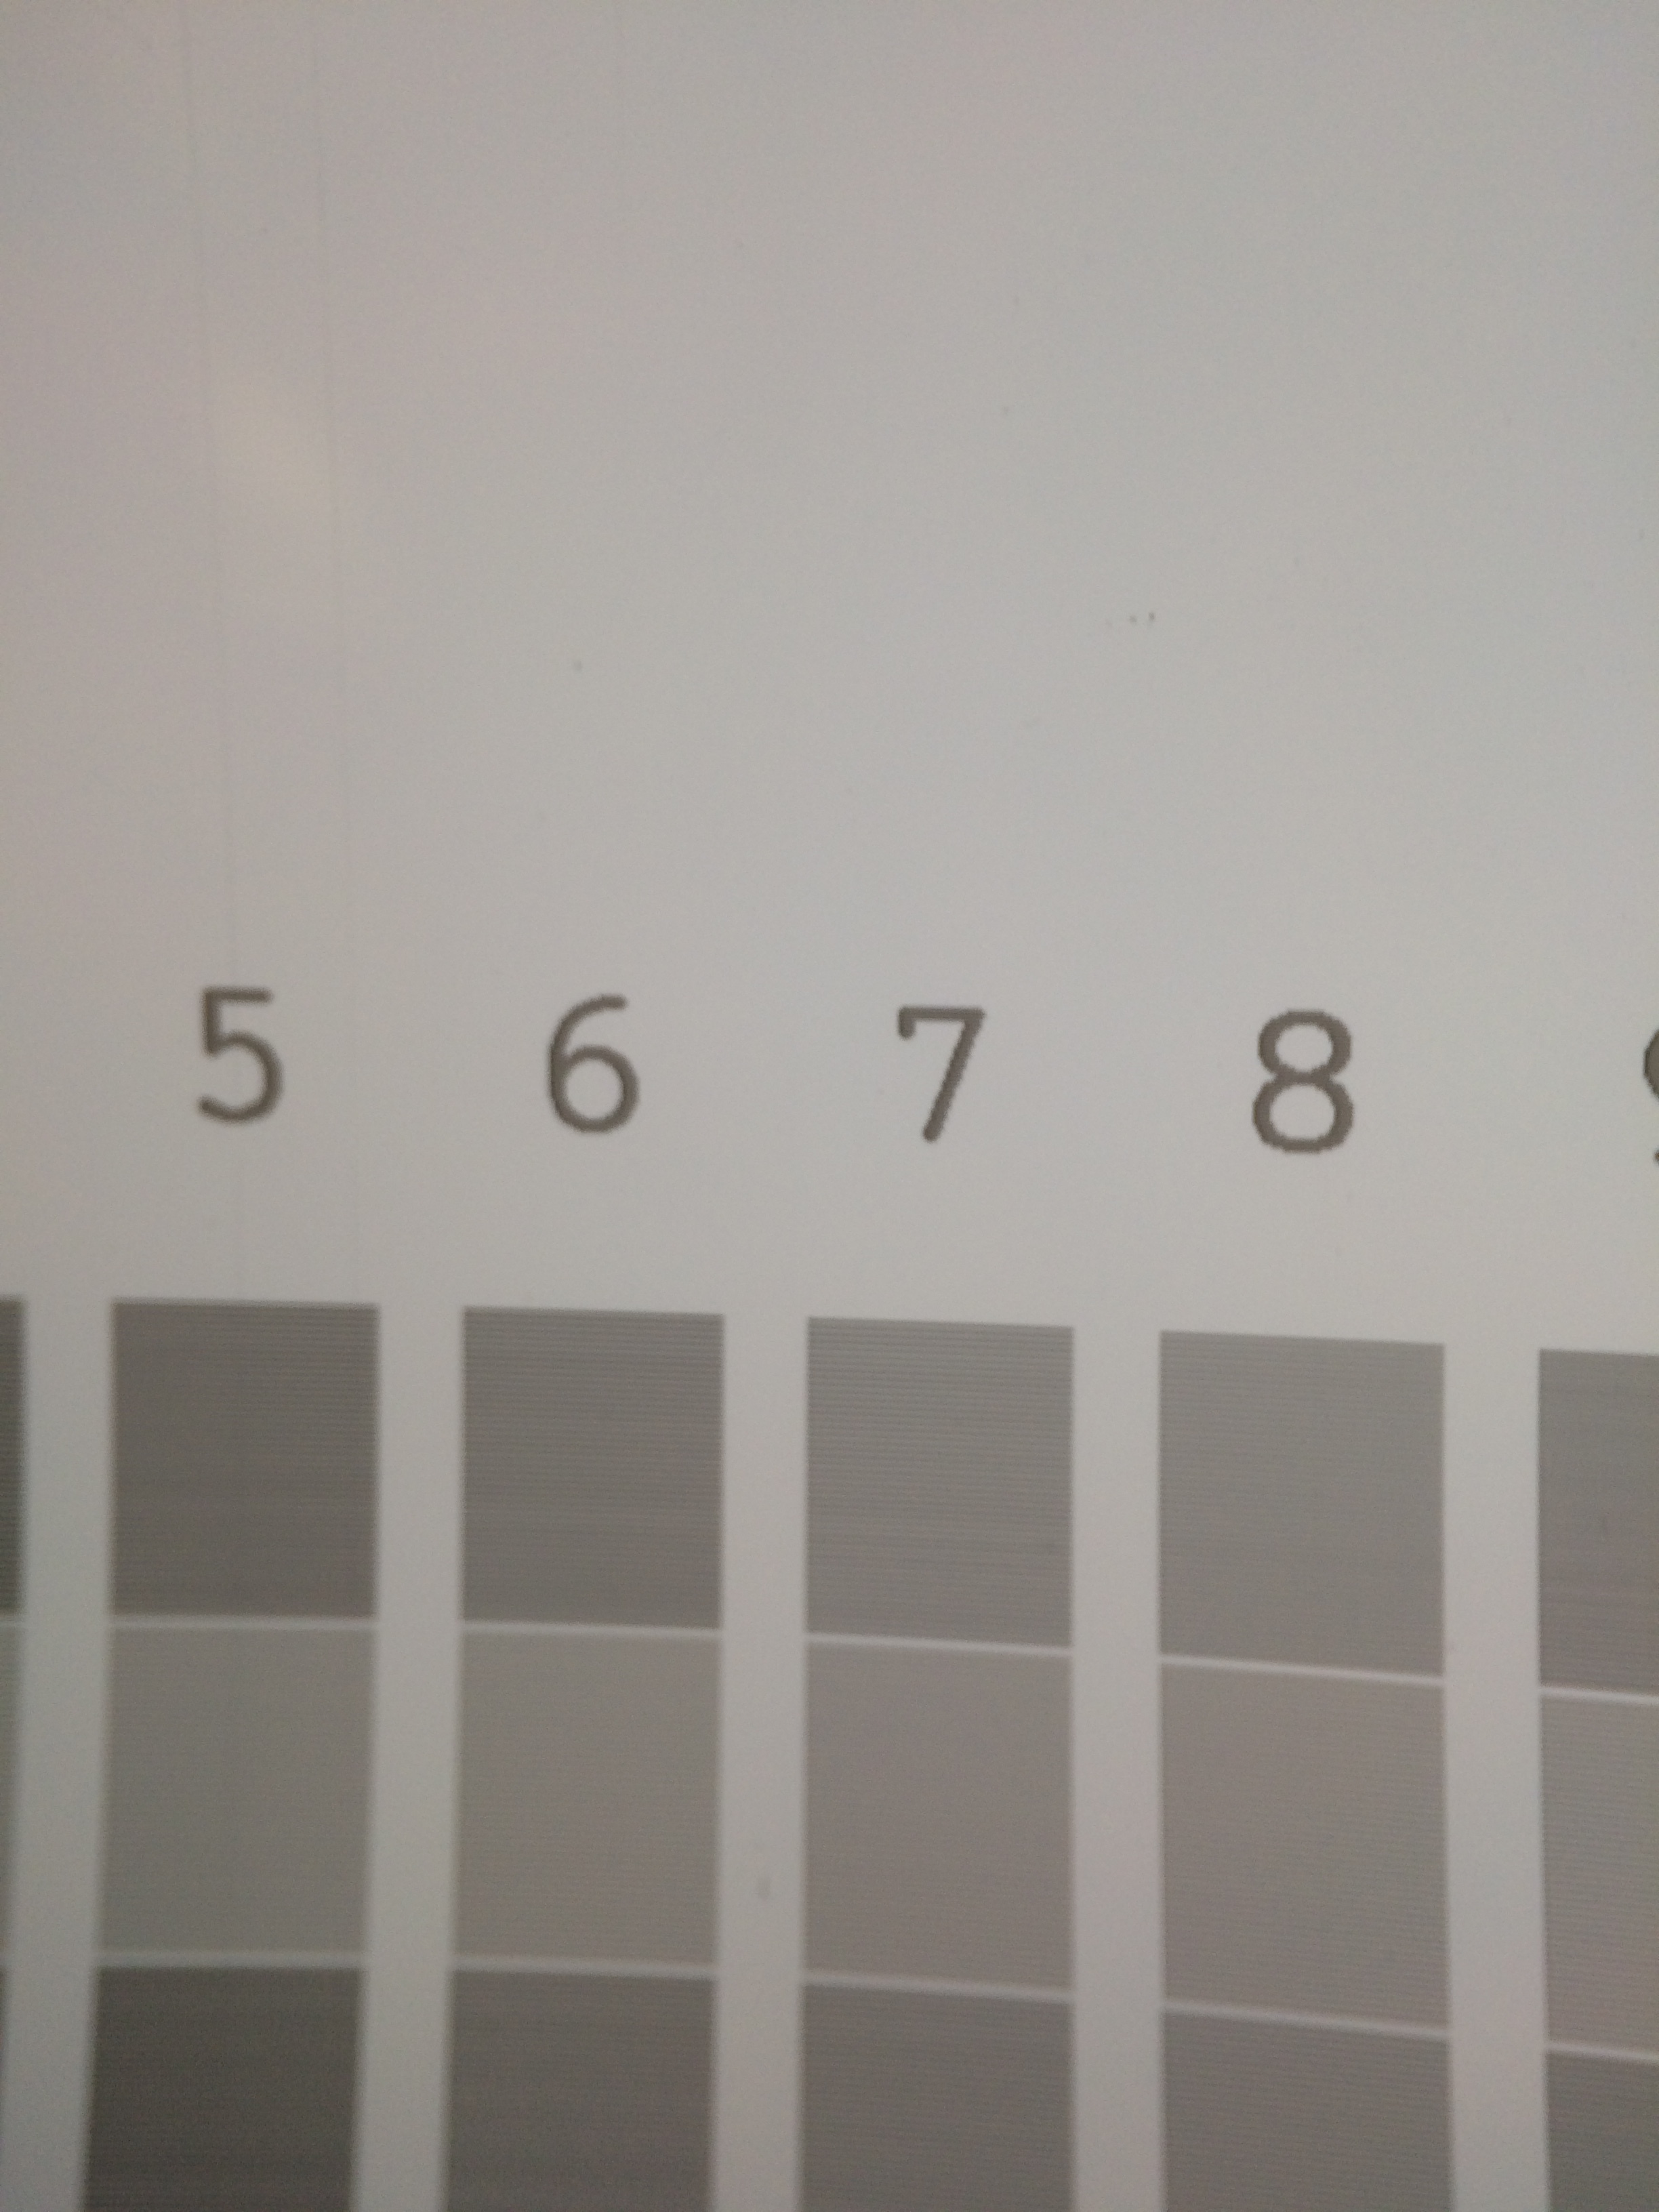
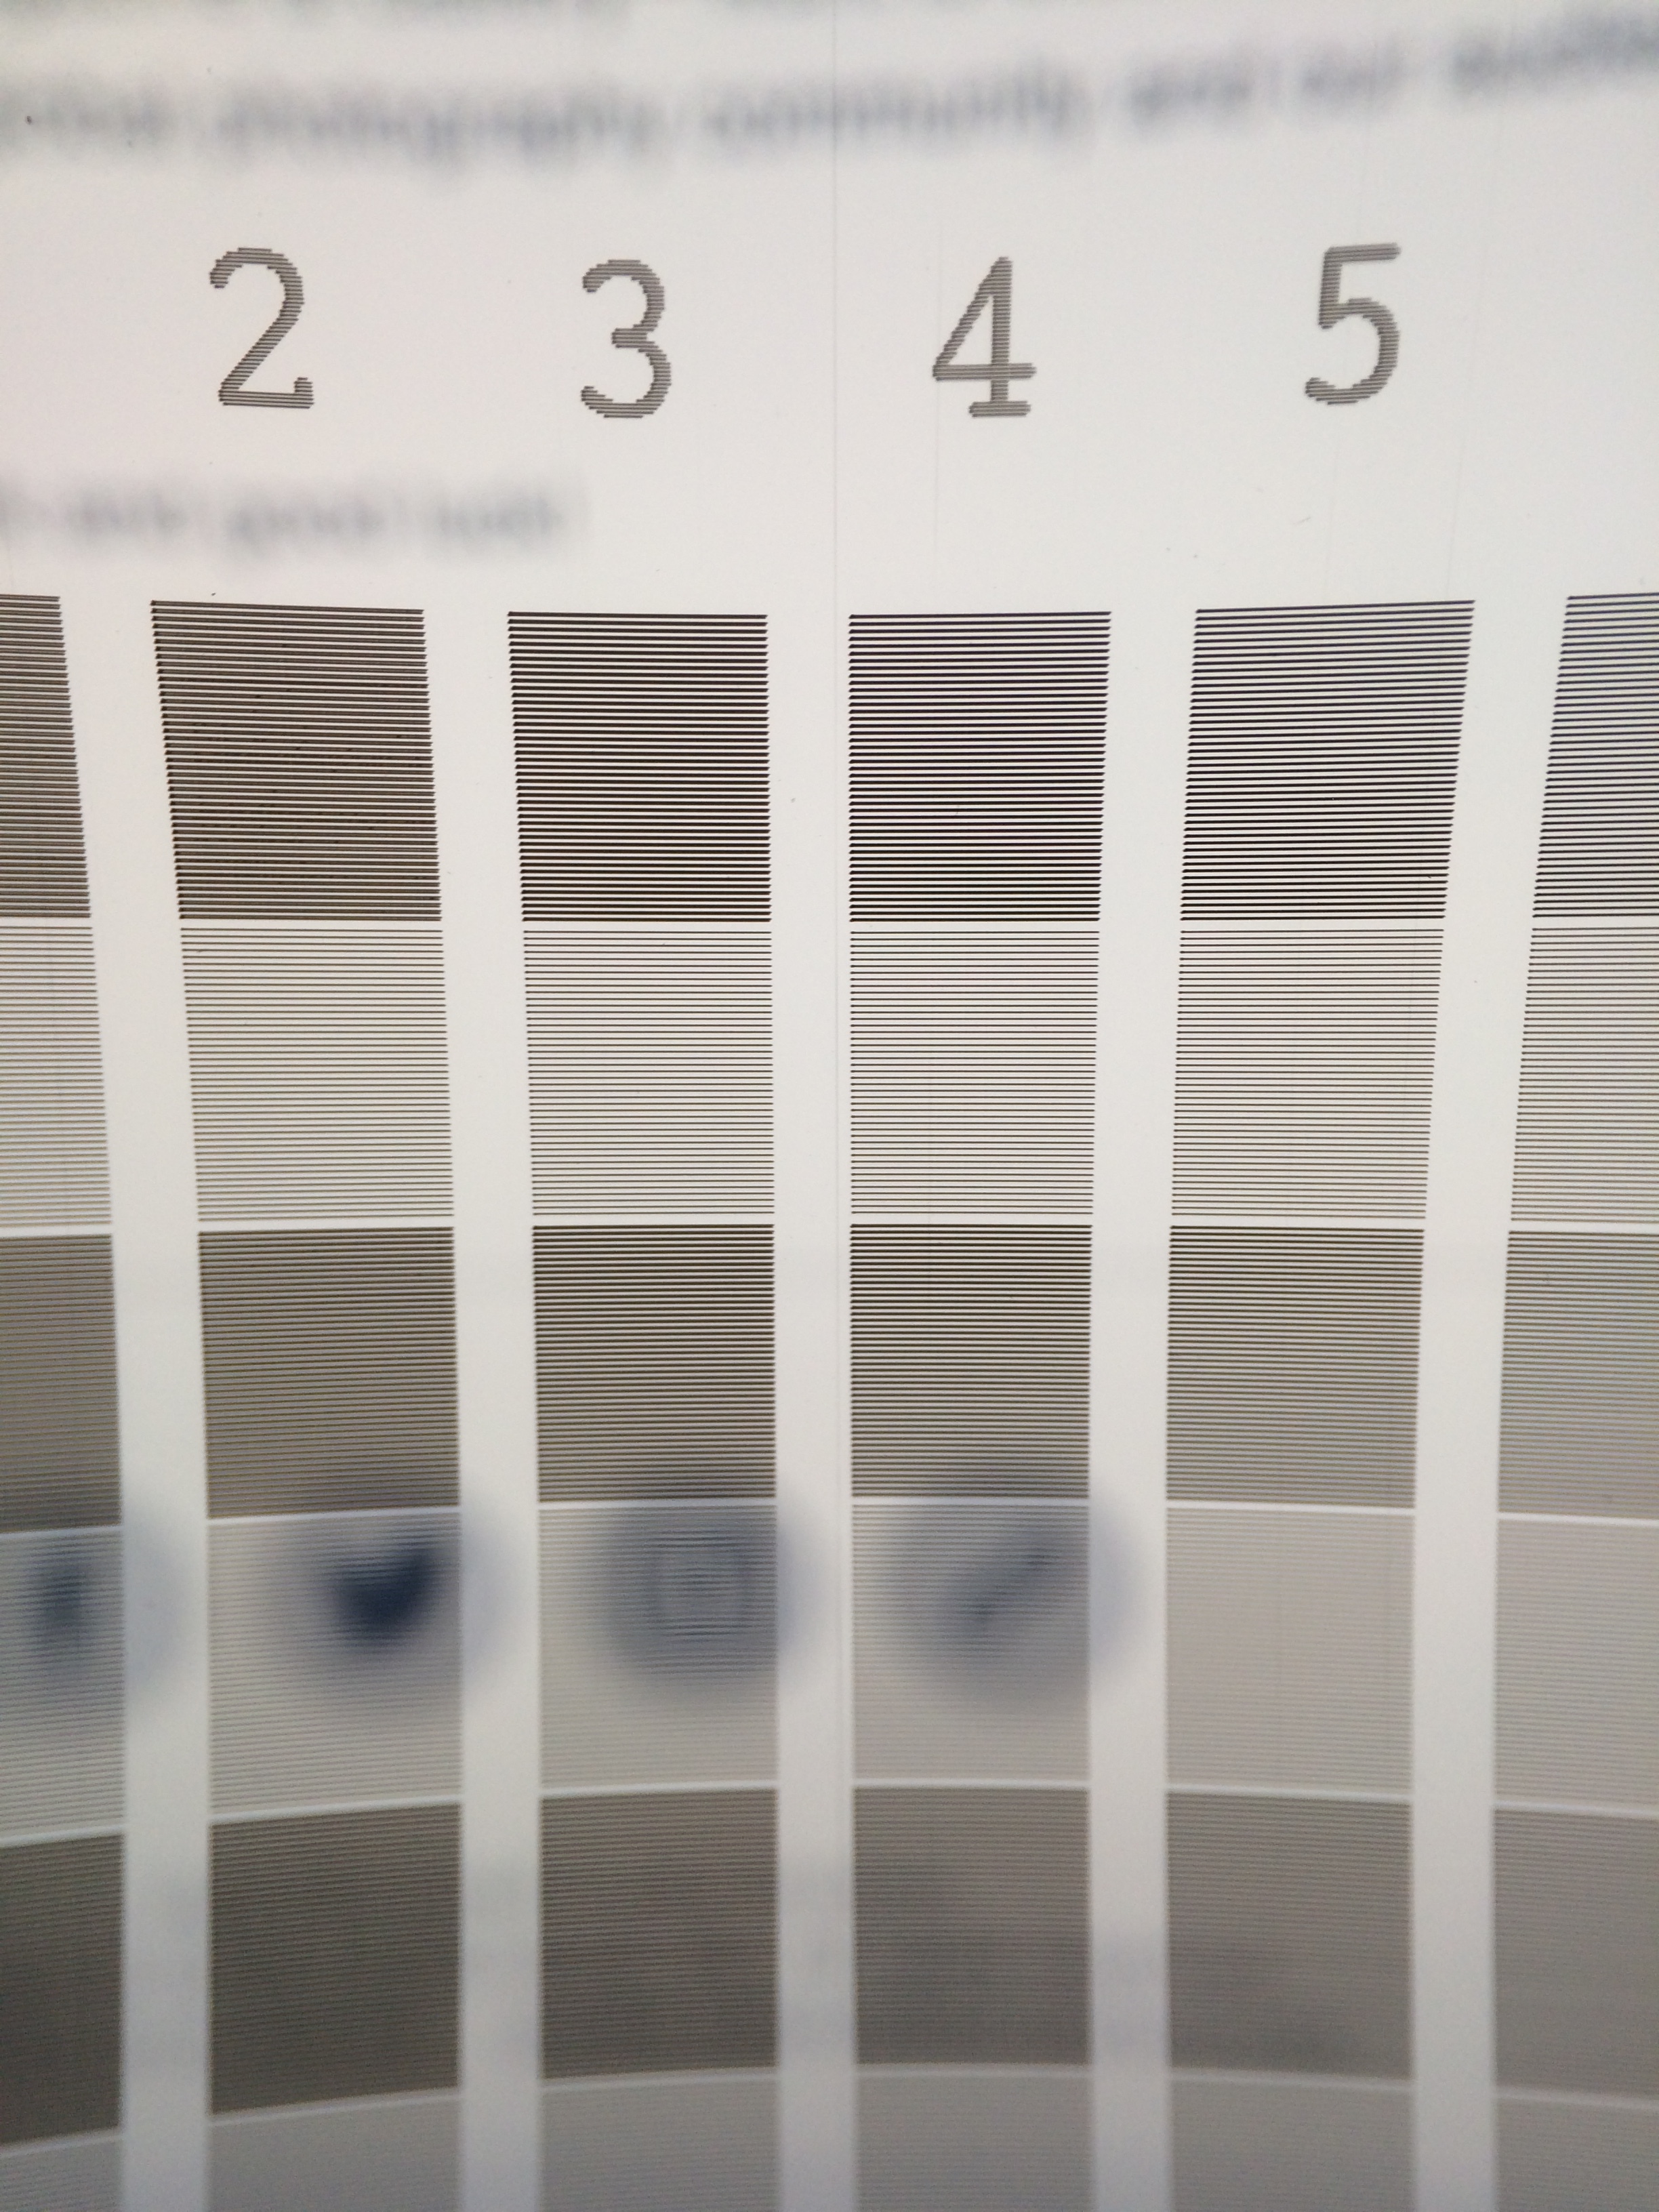
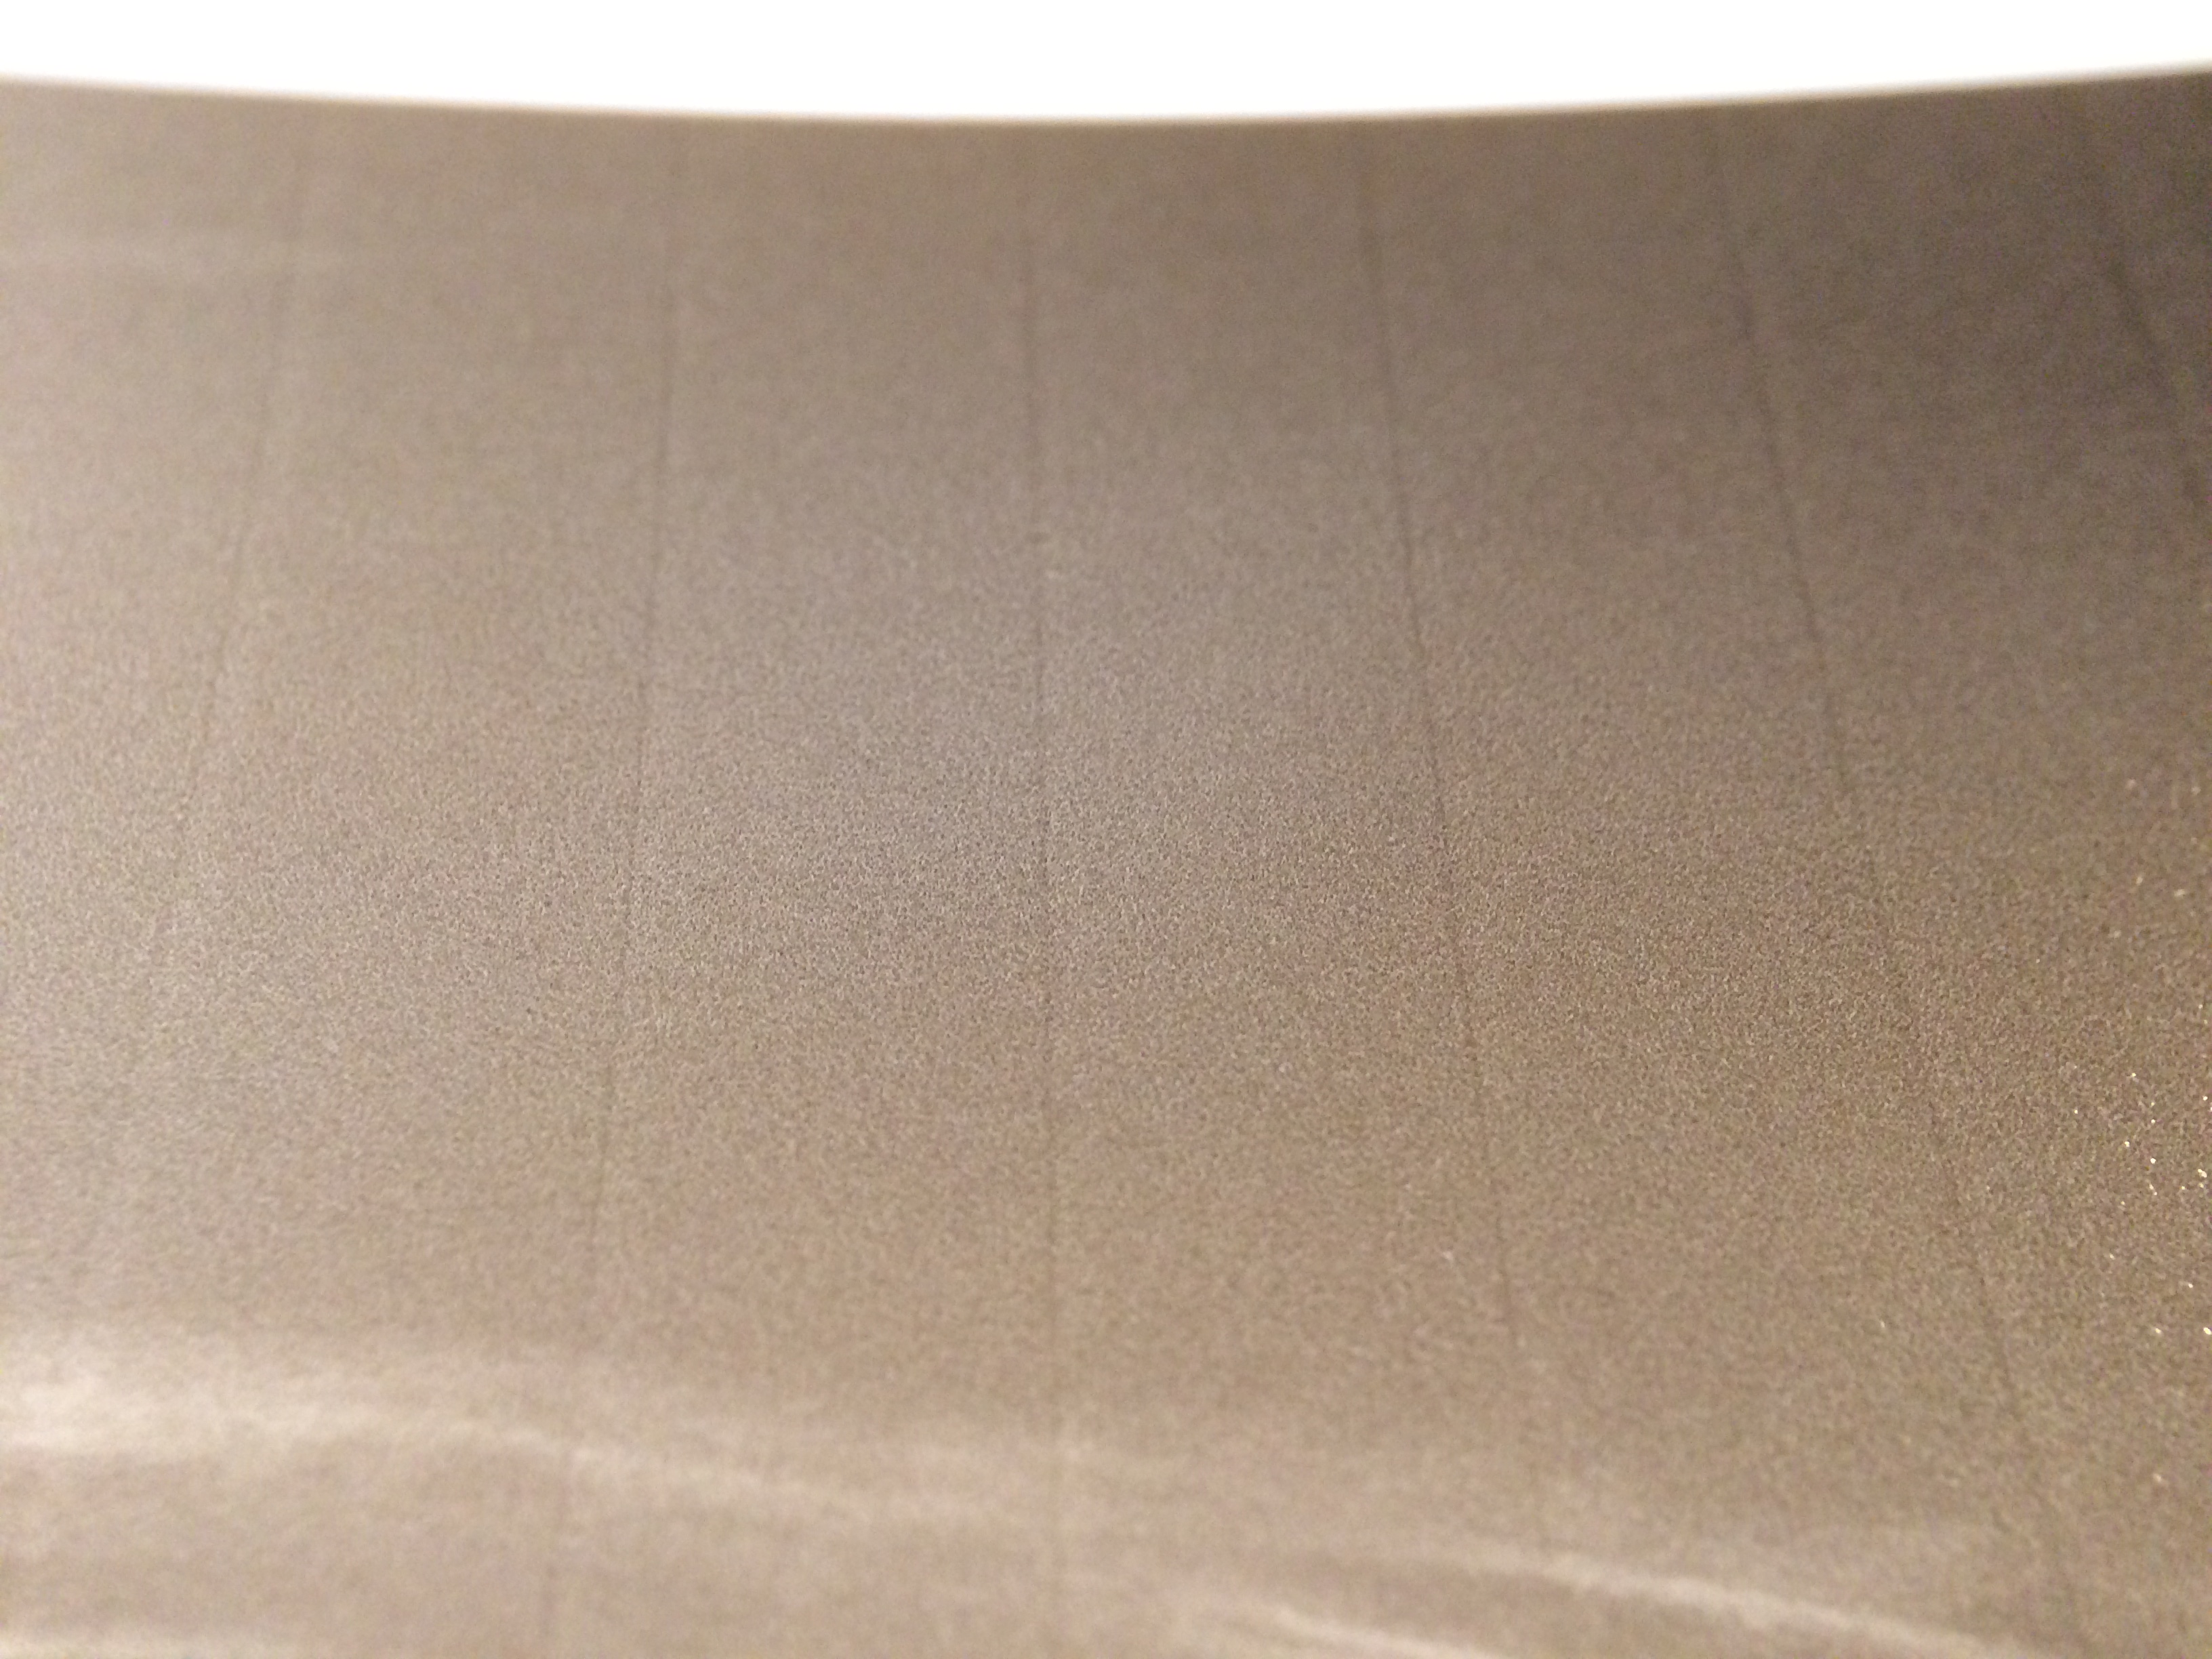
Peel your eyes and choose the one for each row (A to F) with the least stripes / bands. It’s excruciating but works. A loupe doesn’t help, all you see is rows of tiny lines.
Adjust the values up or down, then hit OK. Be warned, once you do that, there’s no going back, the menu jumps to the next pattern down the line (A to B, B to C, etc.).

Do all the rows as best as you can, and when you okayed pattern F it’s done, a value is set for p.f.a. A and B. Look them up in the menu (VALUE) and note them down.

Voilá!

The first negative I printed looks good. I guess it works for different printer models similarly.
In my case, I’ve been meddling around +0.2% but still got banding, couldn’t figure out the difference between p.f.a. A and B values. It came down to A +0.2% / B +0.17%
Now I have to do it with sheet media too.

Hope it helps.

Happy printing!

1 Like

When you’re installing the printhead, are you making sure to use the service program to input the new headrank ID? That can cause all kinds of issues if you don’t. Also, I ran into strange feed issues lately and had to reinstall qtr and redo the curve because the quad had become corrupted somehow. Can’t explain it, but after remapping a fresh download of the stock curve fore my printer, it was clearly fixed. Print with the curve I was using, bizarre feed issues. It was clearly repeatable. First time I’ve seen this, hopefully the last.