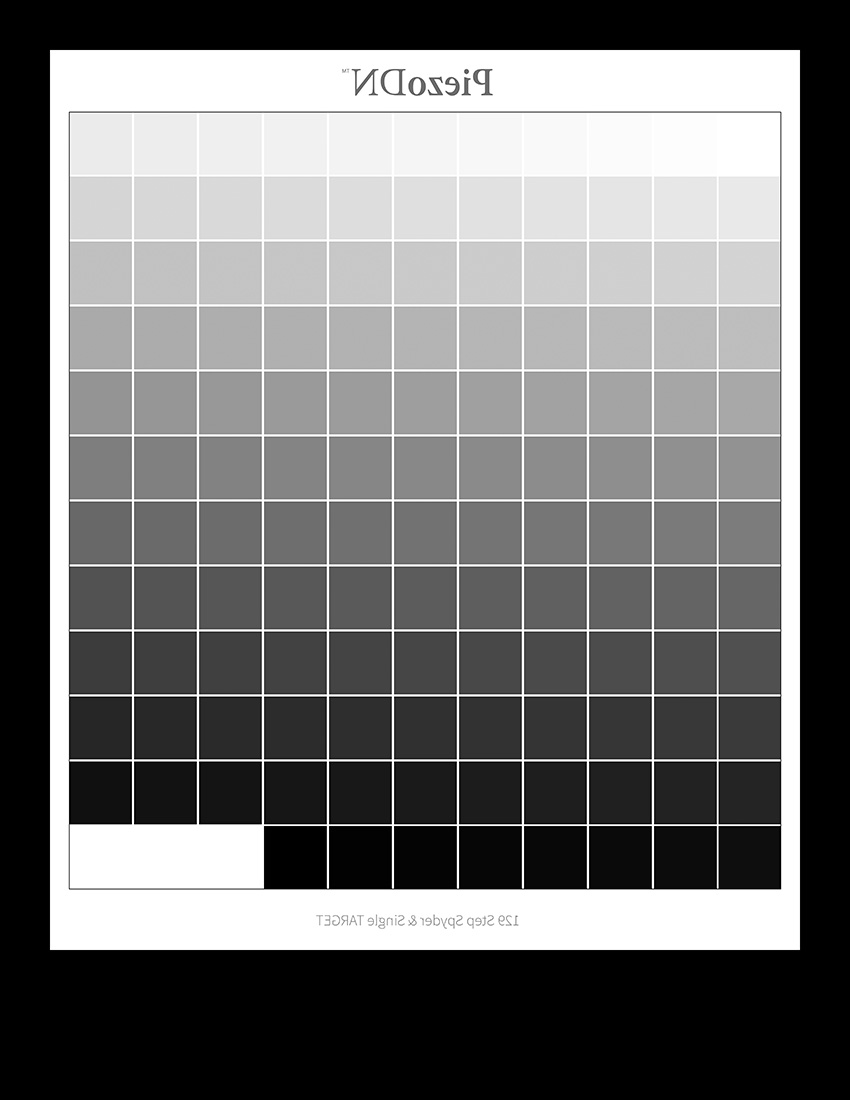
Hello everyone, I’m trying to print negatives for Silver Gelatin contact printing on my 3880. At the moment I’m trying to print the 129 step wedge for linearizing with the SpyderPrint. I have followed the instructions here: https://jkschreiber.wordpress.com/2016/08/08/how-to-disable-star-wheels-on-an-epson-3880/ to disable the star wheels but now I need to adjust the margin at the bottom of the sheet to stop printing 1-1.5 inches from the edge to avoid feed, ink smear, and skew problems. In the QTR print dialog I can only adjust the top or left margin, and if I reduce the image size it still prints the black border all the way to the bottom of the sheet with a .125" margin.
How do I adjust the margin for the black border that prints around images using the 3880-PiezoDN-Silver curve?
- Sorry if this is appearing multiple times. I think it posted earlier but I’m not seeing it now. *
Hi Julie,
I just saw the message you posted on my website, but I was going to suggest you post the question here so I guess I’ll try to answer here.
First thing is that if you are trying to print a black border around the image to mask the edges (a white border around the positive image), you have to think of it as part of the image area. You still need to add black to the edge of the page to prevent the printer from trying to fill the rest of the sheet with black ink. I know this seems strange, but QTR sees the area between the image dimensions and the page size as white (on the positive) and therefore wants to print black in that area on a PiezoDN negative. The way to avoid this is to expand the canvas size to fill the area around the positive image with black to the exact same size as the sheet of film you are printing it on.
The target files are NOT ready print as is. The canvas size MUST be expanded (with the extension color set to black) to the exact same size as your film. That is the only way to prevent the printer from printing in what should be the clear margin.
The left and right margins can be anything more than 1/4" (maybe even less - but QTR can’t print borderless), but necessary leading and trailing margins vary somewhat depending on the printer model. On the 3880 with star-wheels disabled, I have found that it needs 1/2 inch on the top margin and 1-1/2 inch on the bottom. To accomplish this the canvas MUST have black in those areas. If your image is too large to allow that you will have to either reduce the image size or print on a larger sheet.
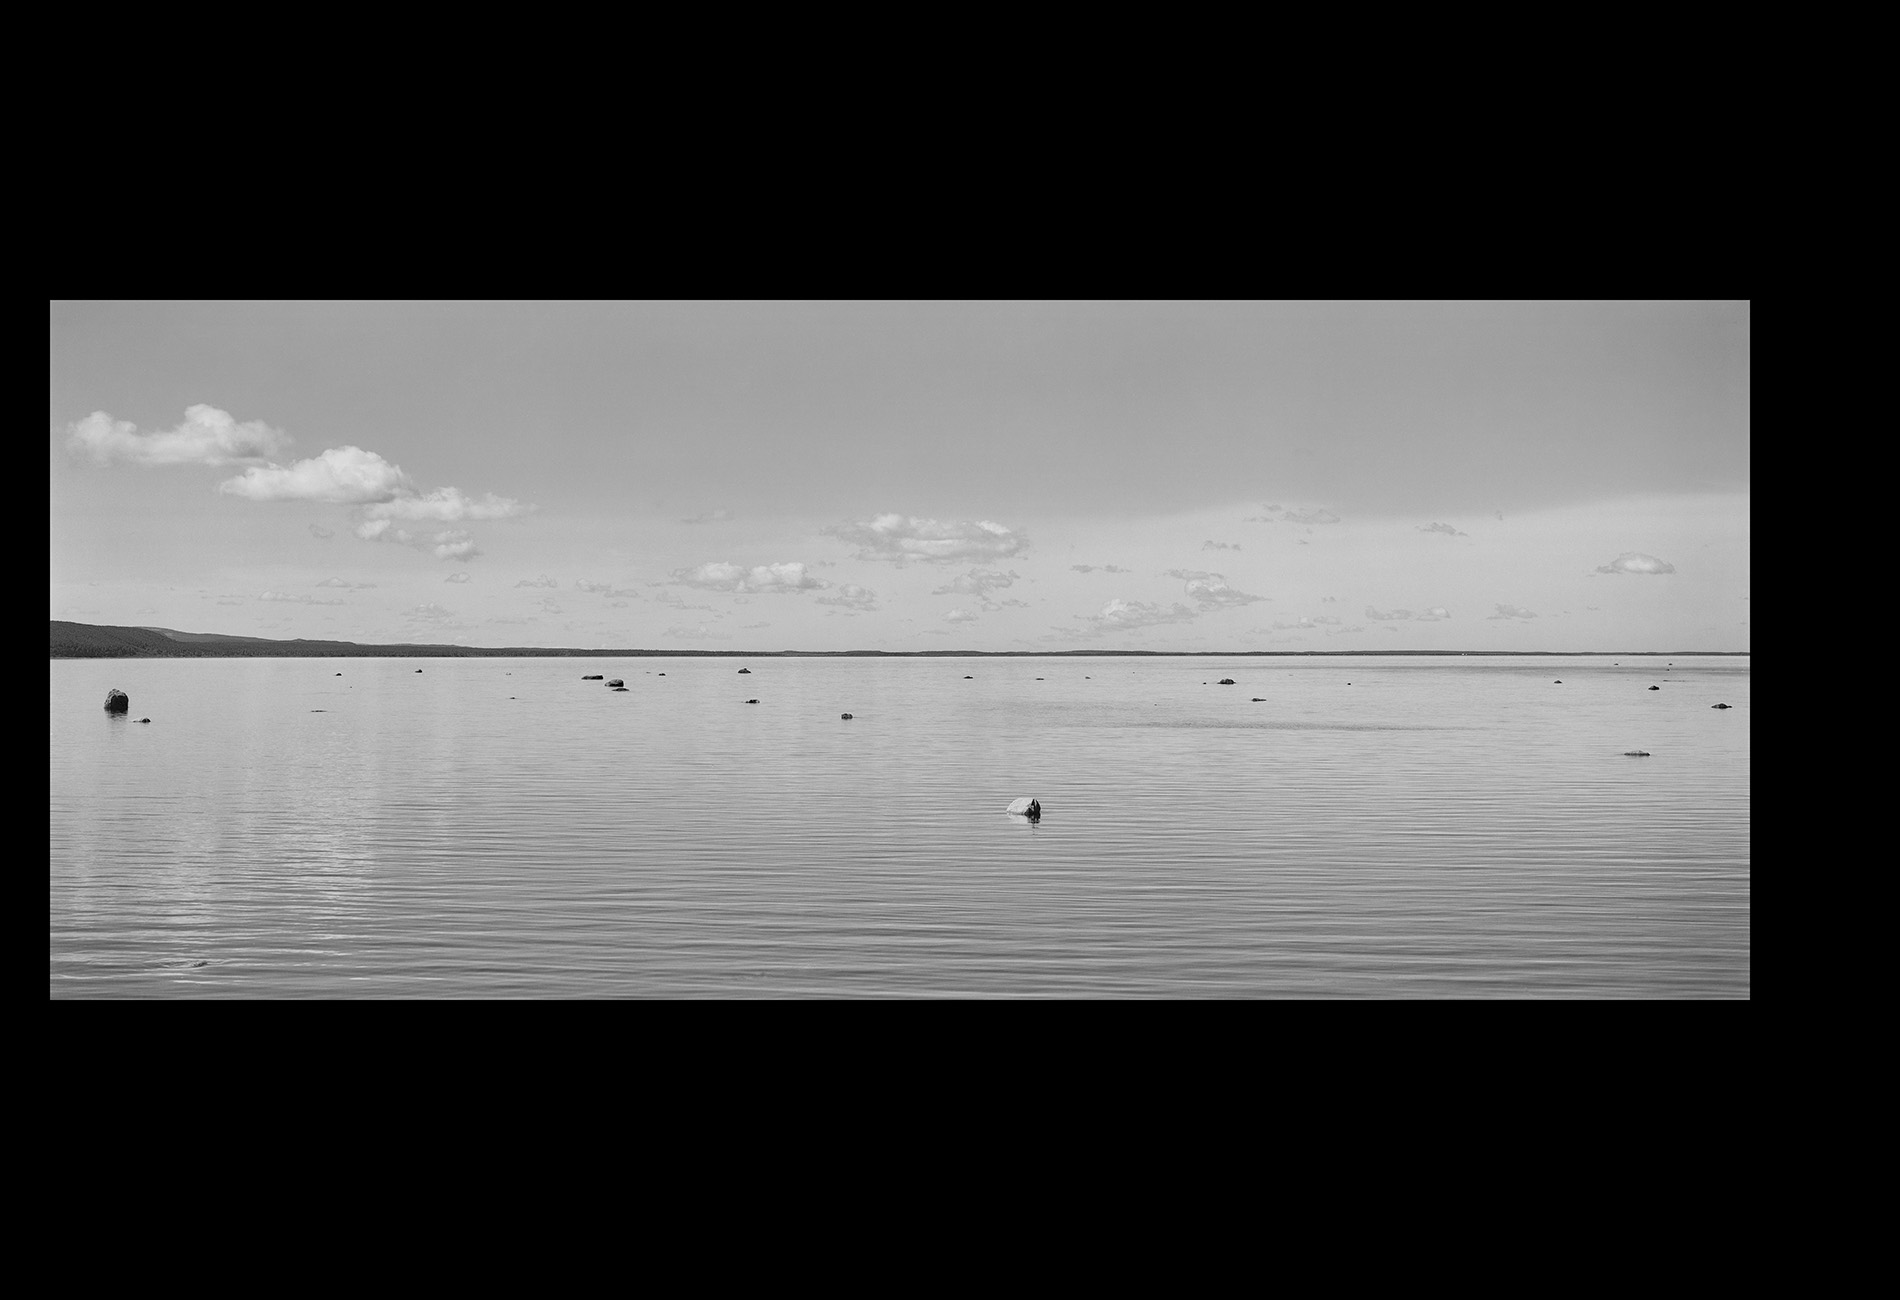
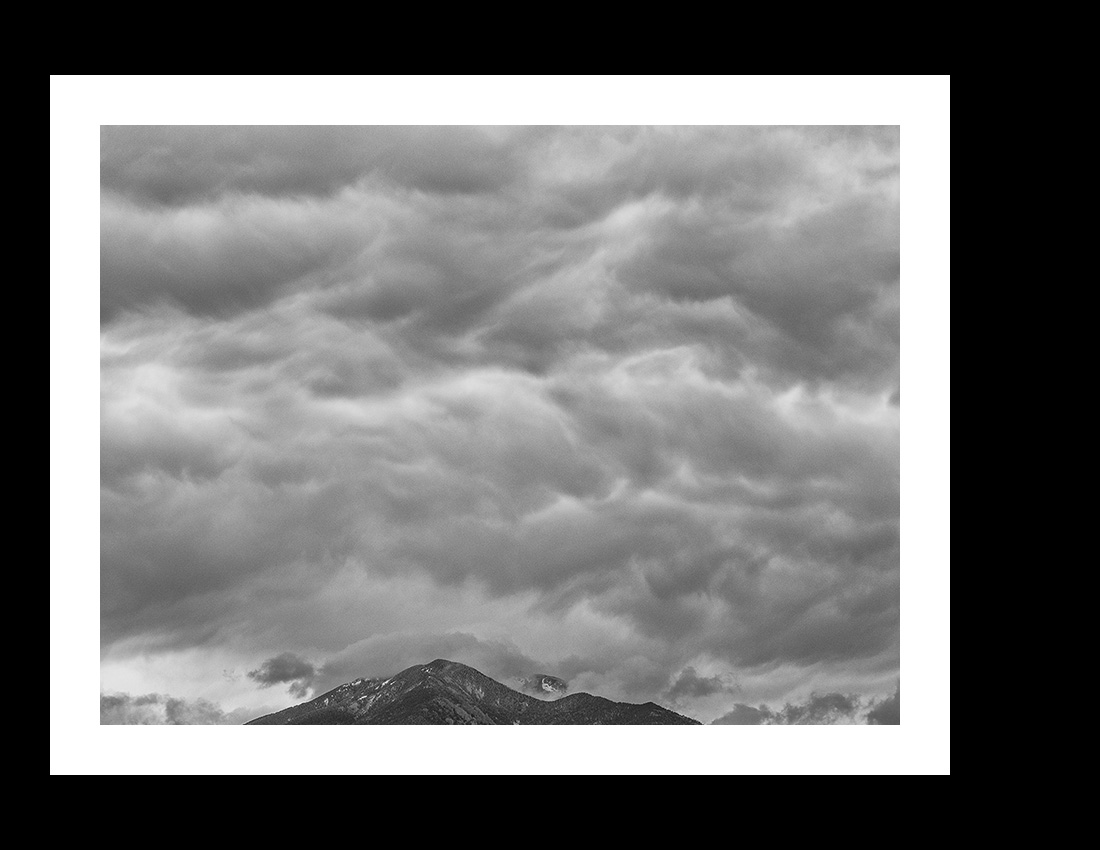
As an example, most of my current work is 7x17 inch image size. I can print these on 13x19 film by expanding the canvas size (with black fill) first to 13x18 centered which gives a 1/2 inch black border on the short ends, followed by 13x19 anchored on the left which adds another inch to the righthand side. I could of course place it higher or lower if I want by expanding in increments and using whatever anchor selection I need. If I really need the image to be centered on the film I would have to use a larger sheet.
Here are some examples that I hope help to make this clear.
Thanks so much Keith, this makes perfect sense!
-Julie